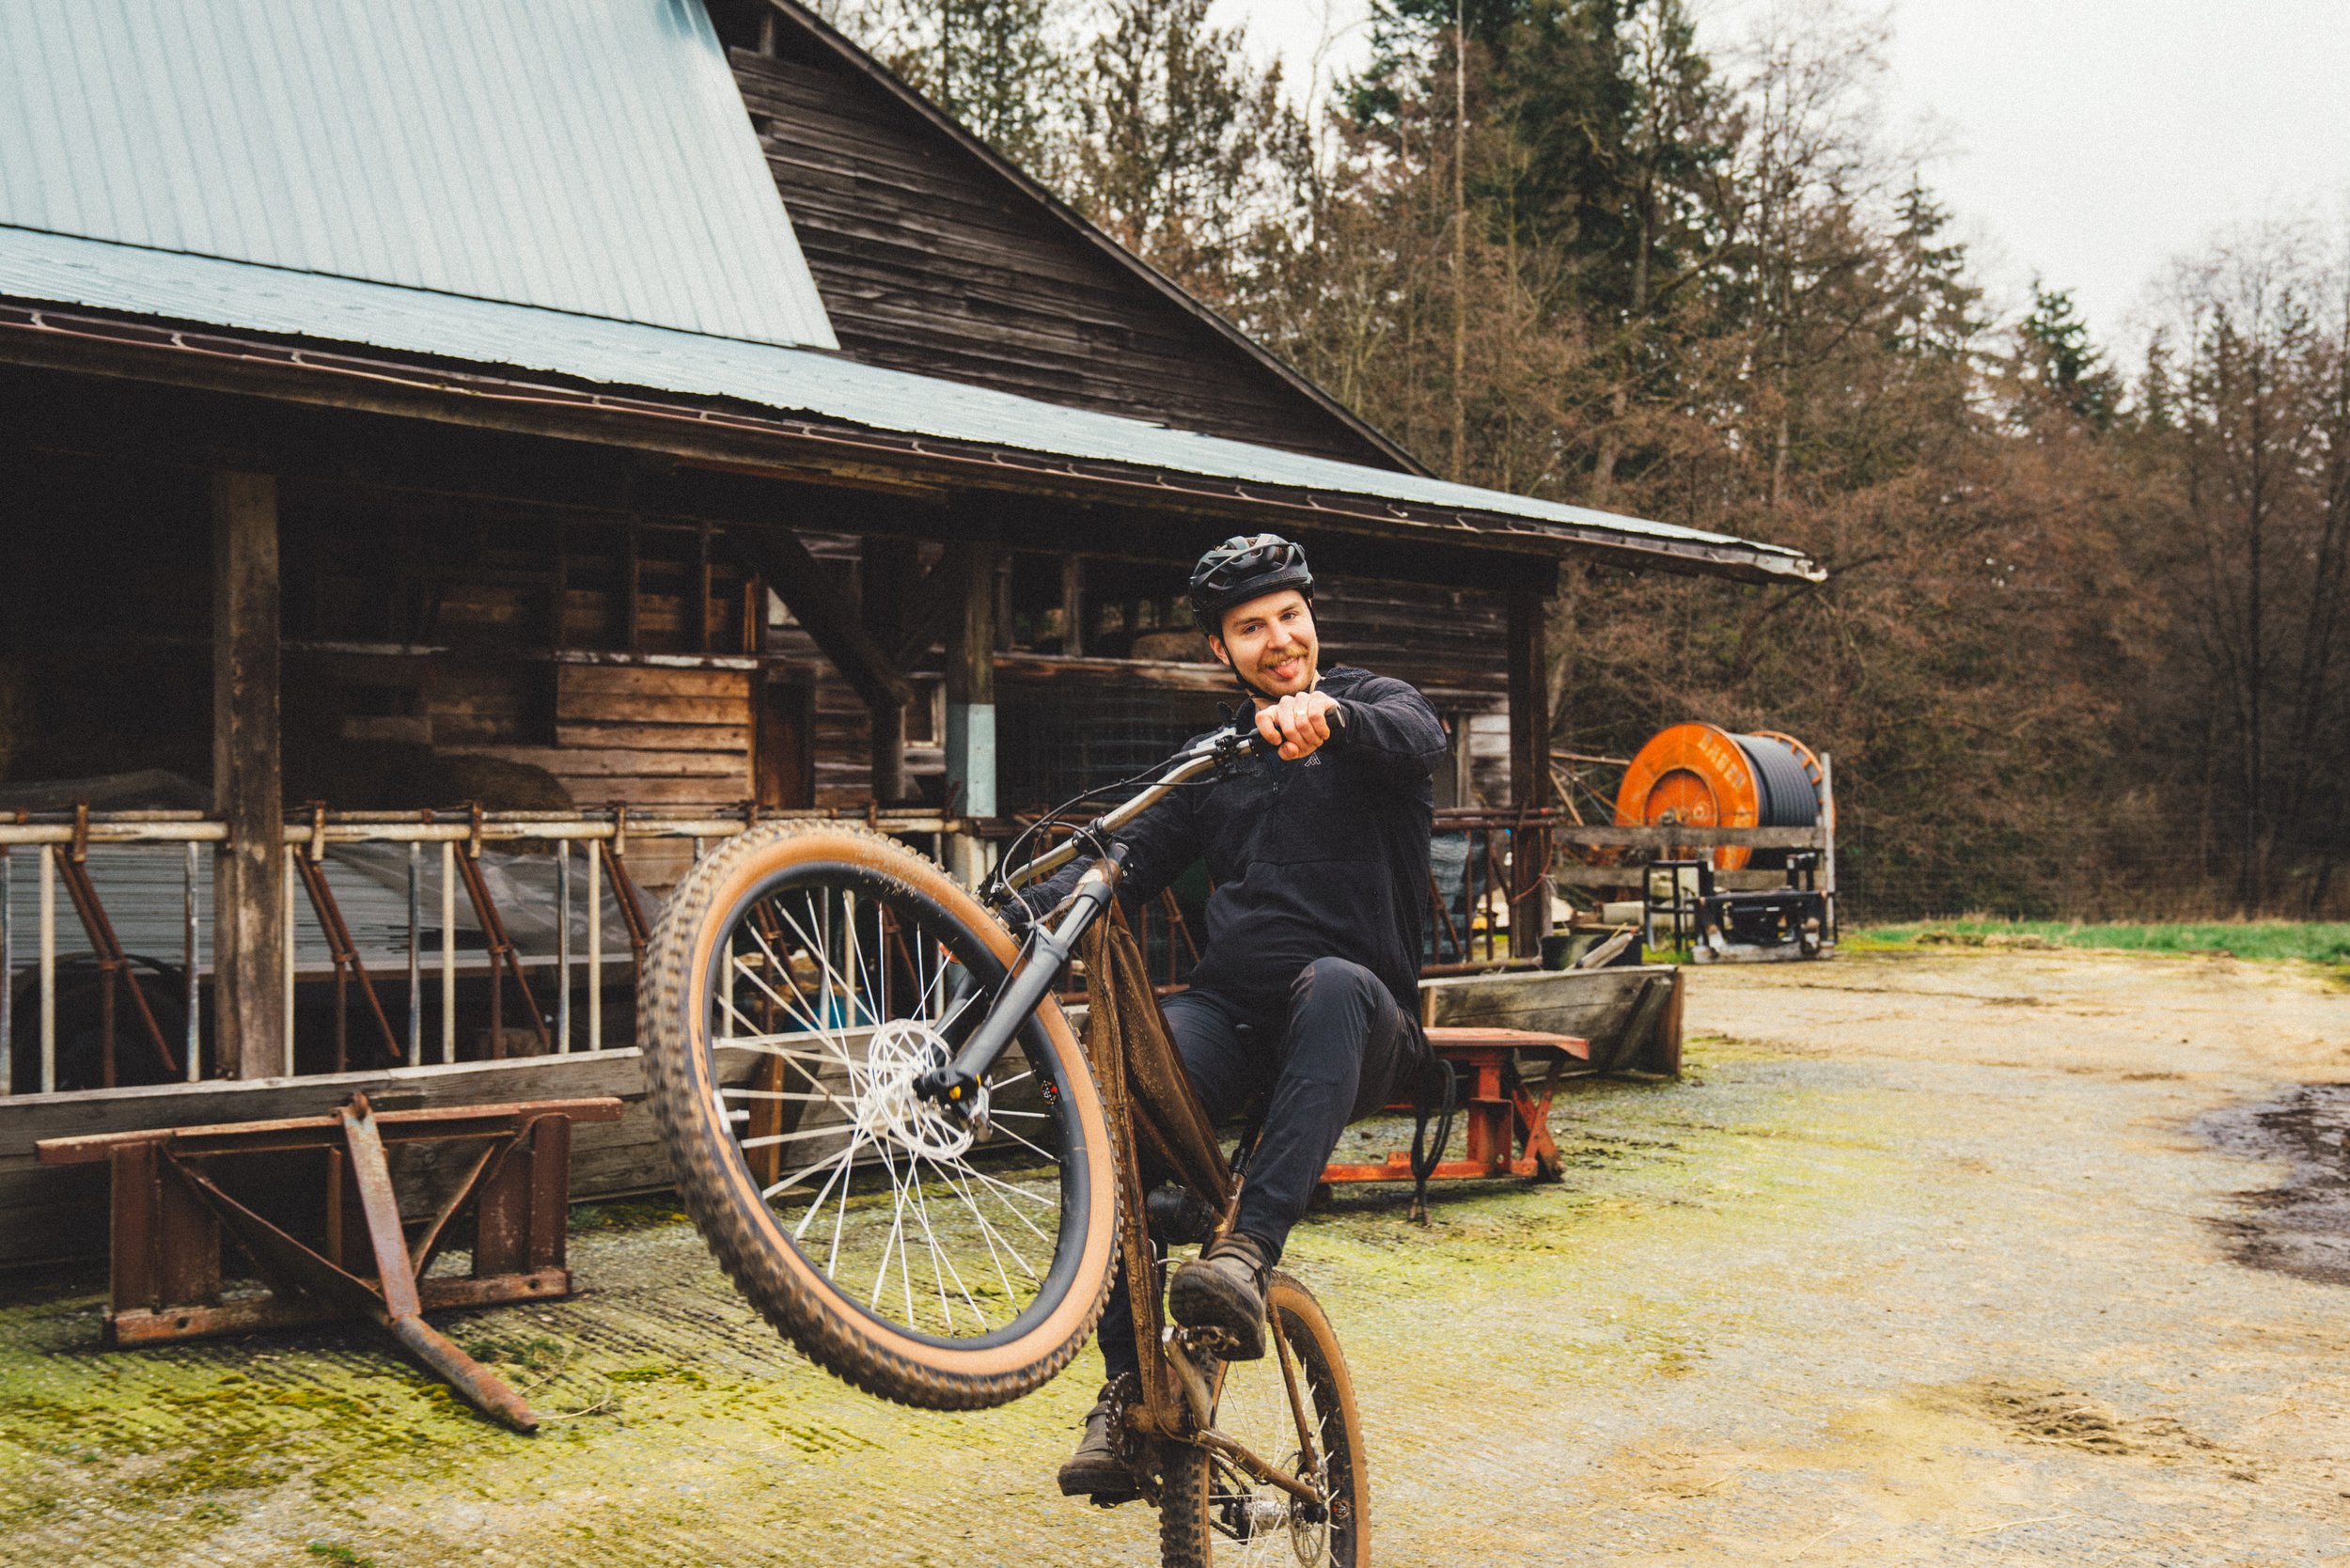
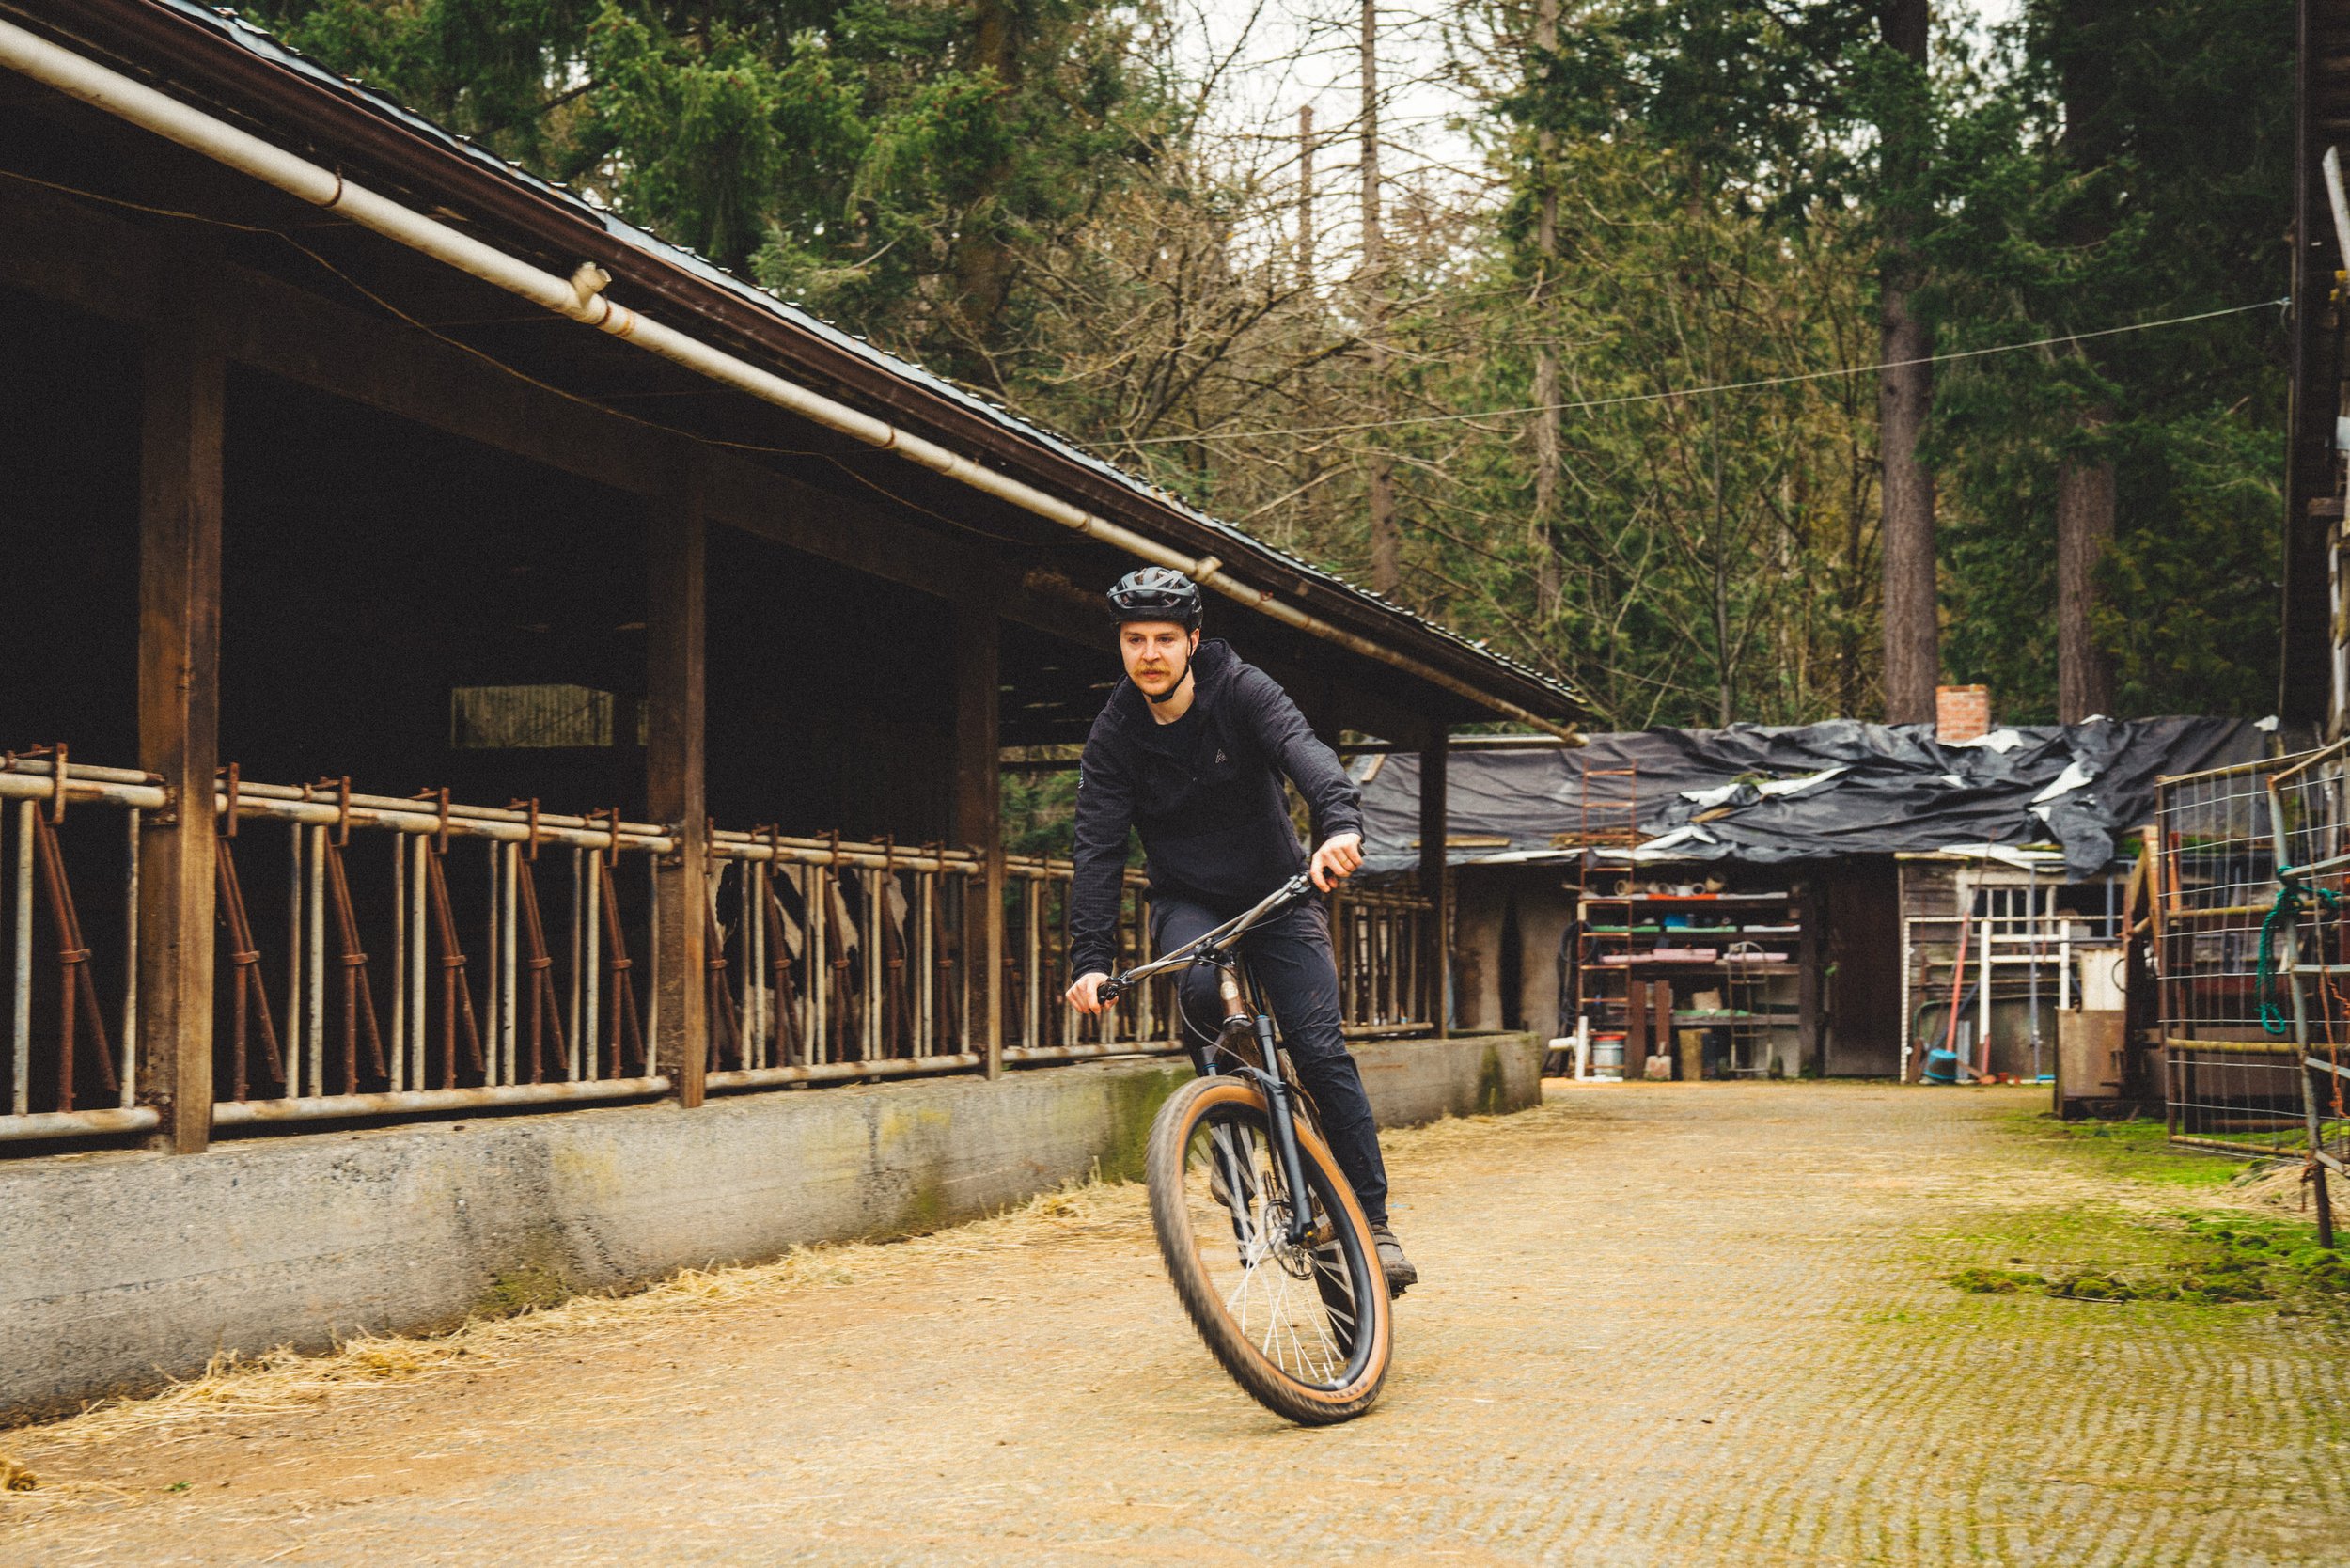
Grant Built a Bike

As a bike store owner, it’s somewhat of a right of passage to own a custom bike. I’d been dreaming and scheming about what this would look like over the years and had finally settled on the direction I wanted to take things. In my line of work I sell incredibly capable bikes that perform at their intended purpose exceptionally well. In choosing a custom steel bike, I needed to be intentional to not make a bike that would be outperformed/overlap too much with the modern bikes I encounter on the daily. I had no interest in building a 160mm travel steel bike as I don't believe there is any way I could build something that would outperform the factory bikes I sell. I think the relevancy of the steel hardtail lies in the in-betweens. A bike that can go bikepacking but also hit the mountain. It needed to be artistic and have an appealing aesthetic, all while being durable enough to load up with bags and straps for a week in the woods. It's not going to be my main mountain bike, and it's not a gravel bike — it’s the everything else bike.
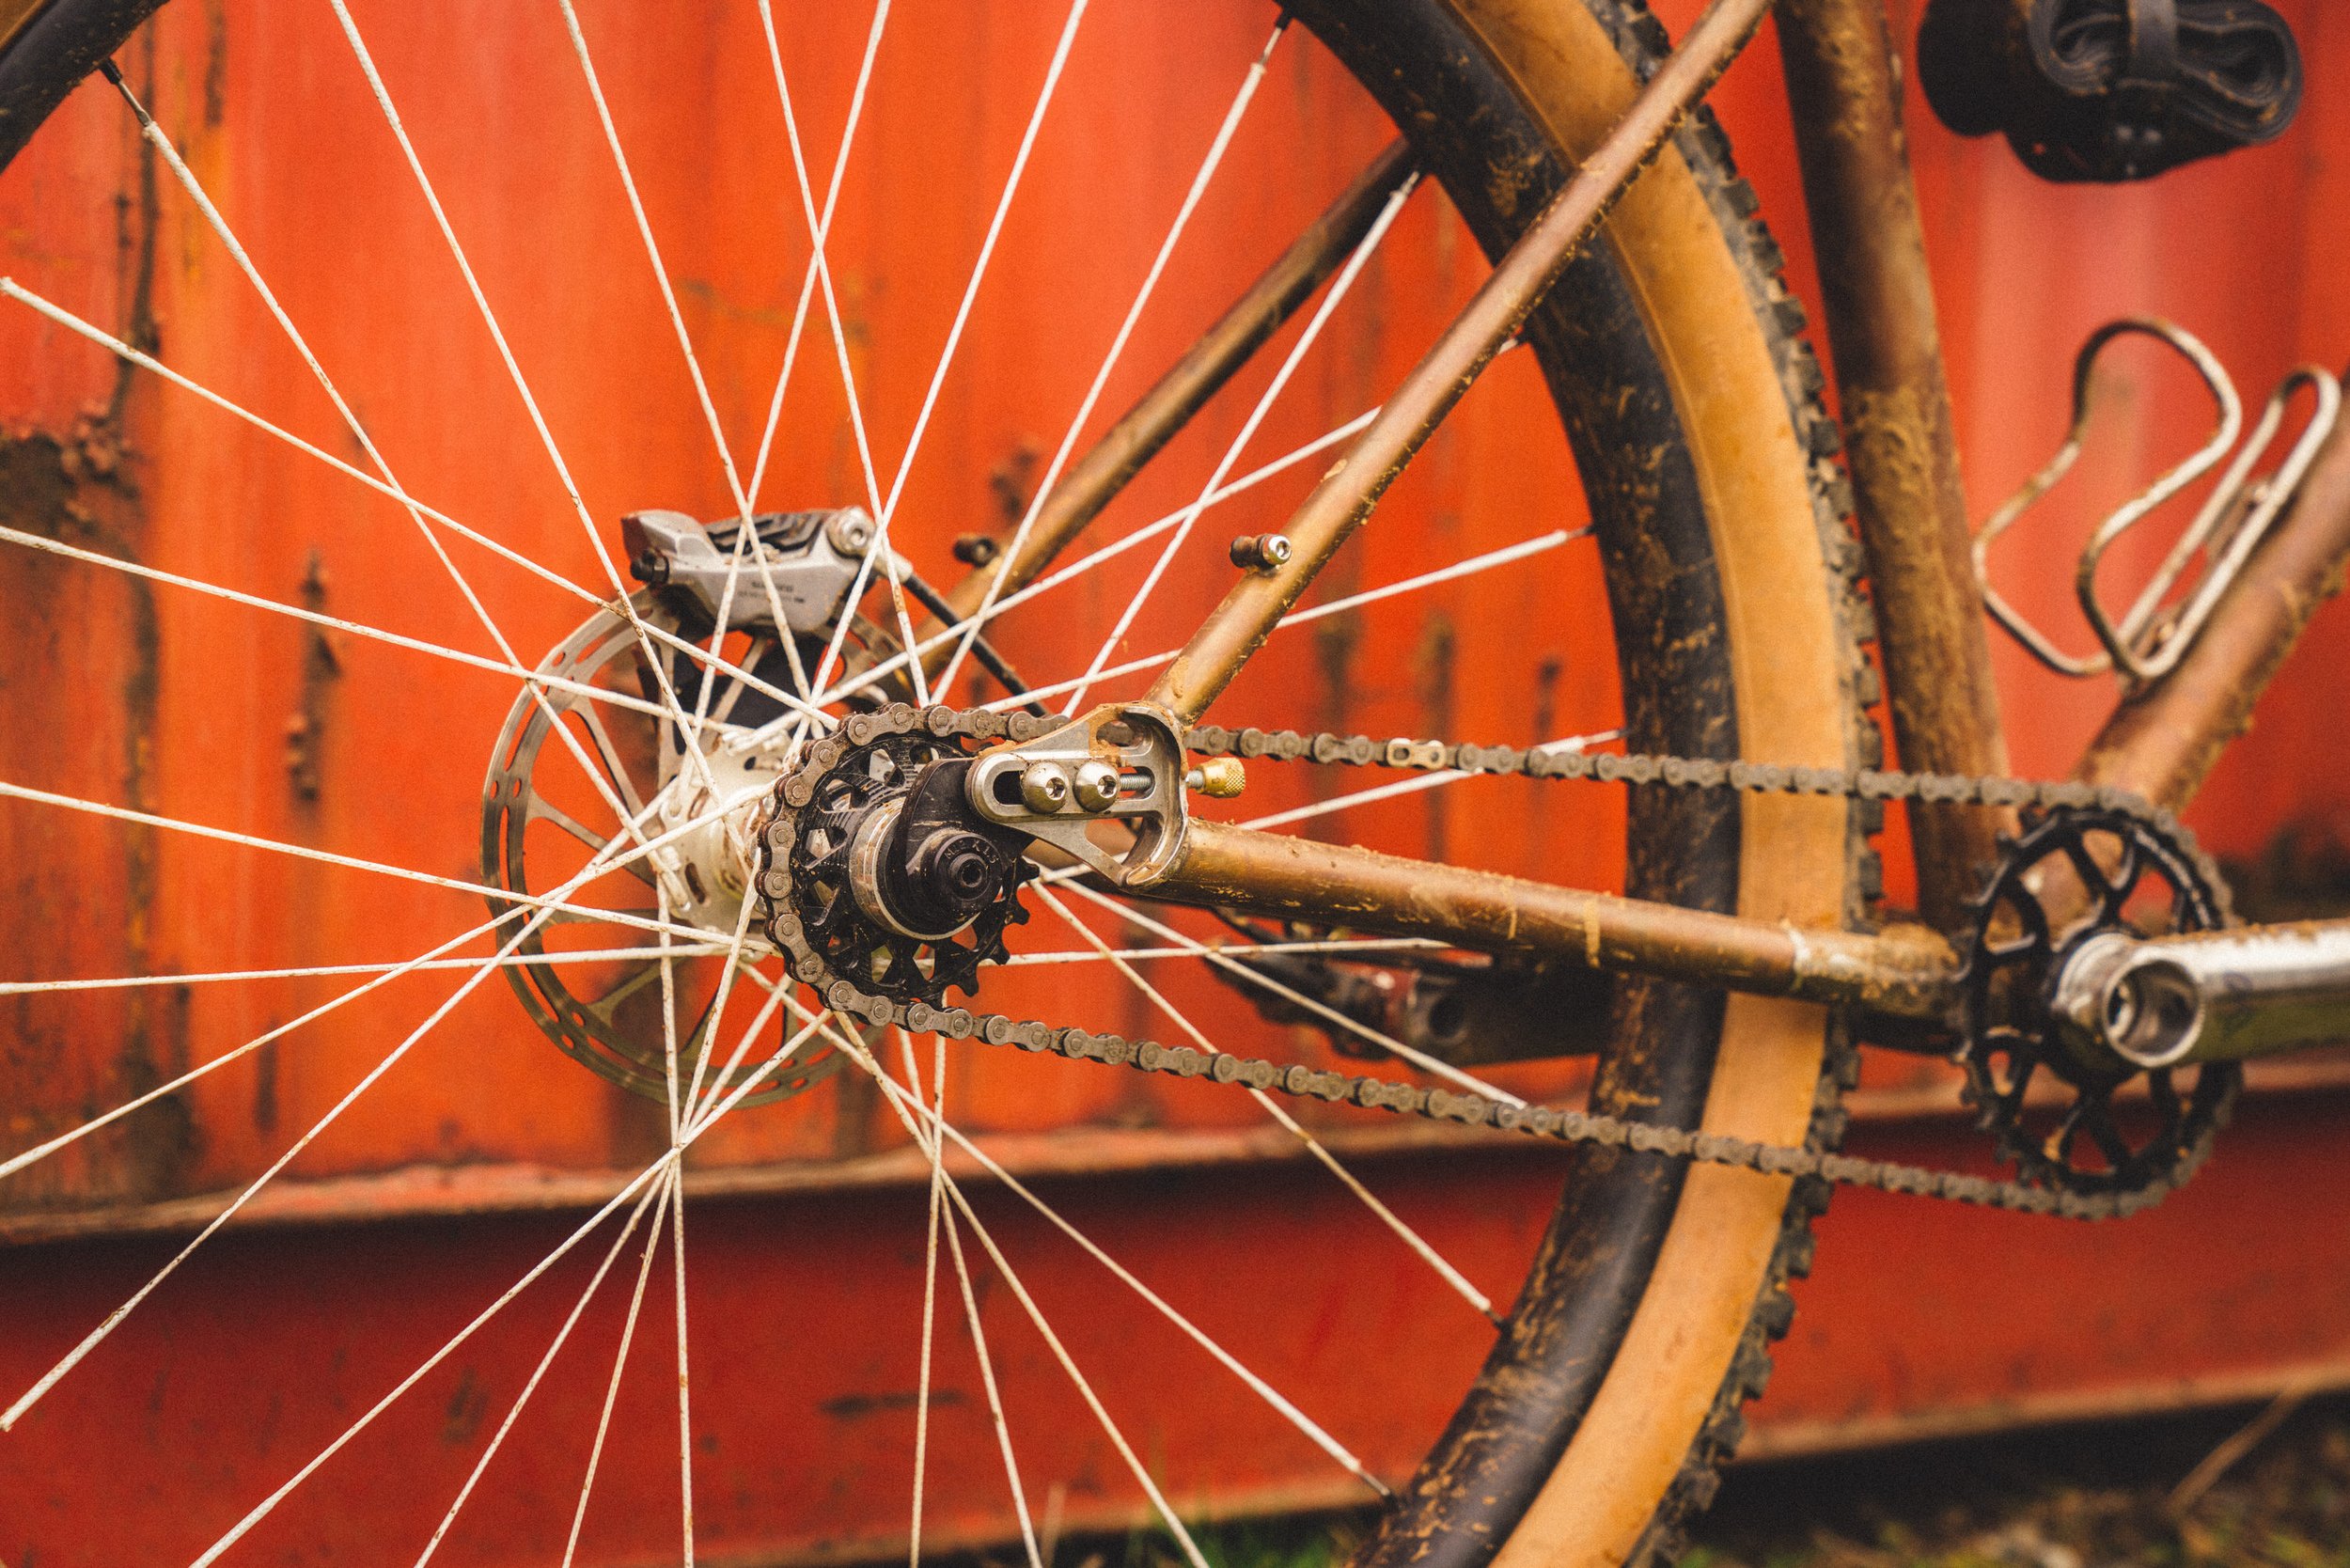
I wanted to run suspension but I personally don't like hardtails that run much more than 130mm of travel. Because only one end of the bike moves, the front end tends to dive a lot and feel very unbalanced on longer travel bikes without rear suspension. Somebody in the Pinkbike comments at one point summed it up well saying, "riding a long travel hardtail is like riding a stapler"; I tend to agree. So, the bike would be designed around a 120mm fork. I wanted 29x2.6 tires to give lots of flotation and comfort on rough terrain without feeling too big and draggy when things got smooth. I wanted sliding dropouts so I could run a clean singlespeed setup if I wanted to punish myself in the winter and save my drivetrain. Finally, I wanted modern geometry without pushing the boundaries so far that I would feel like I would be better off on a long travel full suspension. Turns out, you make a lot of compromises when trying to design a bike that does multiple things well. In the end, these are some of the key numbers I settled on:
Reach: 480mm
Chainstays: 430mm (ish)
Front Center: 779mm
Wheelbase: 1202mm
HA: 66 degrees
STA: 77 degrees
When it eventually came time to pick a builder, it was an easy choice to go with Al at Berg bikes both due to proximity, and the fact that we already had a relationship. Years ago, I did a small favour for Al and decided the best way to cash it in would be to put it towards my first custom bike. Unfortunately, Al had recently pulled back from frame building due to some complications from a past injury. It was upon hearing this that I had the idea to pitch that I build the bike under his guidance. It turns out, Al had been itching to get back in the shop and he agreed to walk me through the basics of tig welding and the construction of my first bicycle frame.
Frame building is both incredibly simple and much more complicated than it looks. Ultimately, you are just building a couple triangles and sticking them together, but doing it well and dealing with distortion and maintaining proper alignment are challenges that are much easier navigated with experience and proper tooling. It's commonly accepted that most builder’s first frames are doomed to become wall art, as most never make it to fully functional status. Thanks to Al's watchful guidance, I’m happy to say that my frame is still in one piece and accompanies me on all sorts of adventures; from bike-packing to mountain biking.
Learning to tig weld was an adventure in itself and getting to a point where I was ready to work on my frame took far longer than expected. It's not an overly complicated procedure, but doing it well takes a lot of practice, especially when dealing with the thin-walled tubing that is used on bicycles. For those unfamiliar with the process, you have a torch that you hold in your dominant hand, filler rod that sits in the other, and a pedal that would traditionally sit under your foot. Due to Al's physical constraints, his "foot pedal" was modified to sit between his thighs and to actuate it, you move your legs in and out and work it like some sort of accordion. I'm sure this would be bizarre for an experienced welder but as this was all new to me, I was happy learning with Al's setup.
You have the ability to set multiple settings for your torch, and I'll admit my knowledge here is minimal. I watched a "how to tig" video by Cobra Framebuilding and stole his settings. These numbers were much easier for me to work with than Al's setup, as it was a little too fast for me and my lack of skill. My understanding is most frame builders use a "pulse" setting which pumps electricity through the torch and pauses momentarily before sending another pulse. This allows your puddle of hot metal to cool briefly before heating up again and helps prevent you from overheating and blowing holes in your base material. It also helps achieve that "stack of dimes" effect that everyone wants to see.
Once your settings are sorted, the act of welding is a very precise juggling act that goes as follows: You set the torch as close as possible to your base material without it touching, and then hit the gas in your foot pedal (thigh pedal in my case). At this point, the welding mask effectively turns out the lights and all you can see is the blast of light from your torch. The torch needs to maintain about a 1cm gap from the base material. Pull too far away and you will loose proper penetration. Too close and the tip of the torch melts, which requires you to change it out. You need to keep the torch at an angle, pointing in the direction you are moving. If it angles down, you will add too much heat and may blow a hole. You also need to keep moving at a very consistent speed; slow enough that you keep a nice hot juicy puddle, but fast enough that the back of the puddle can cool off and form a nice bead. All of this is happening on a very small diameter tubeset, so you are constantly adjusting your angle as you work around the tube. It's a lot to juggle for somebody with zero tig experience. I have a ton of respect for the people that can link together a perfect bead on thin round tubing.
Another very important aspect of frame building is tight miters / proper alignment. A ton of time goes in to making sure that the intersections of the tubing are as close to perfect as possible. Gaps cause the frame to pull together and become misaligned. They also lead to weaker joints. Al cuts all his miters with a hole saw and a very precise jig that is calibrated to his mill (fancy drill-press). Once the main cuts are made, the tubes are moved into position on the frame jig. They are then examined and any gaps are marked with sharpie. The tubes are then removed and hand filed / sanded until the appropriate amount of material is removed. This process is repeated over and over...and over, until the gaps are all minimal or non existent. I'll admit that this process felt a little tedious and was far more precise than I would have thought necessary.
Al and I picked away on practice welds and eventually the front triangle of my frame for over a year. This certainly is much longer than it would take most people to tackle this kind of project, but it's something that we worked on fairly inconsistently and fit around each-others busy lives and schedules. Eventually, we wound up with a finished front triangle that was generally straight and seemed to be structurally sound. I was pretty nervous about riding on my welds, but Al reassured me that they were plenty strong and sent me home with some of my scrap pieces of practice welds to do some destructive testing for a little extra confidence. Sure enough, even my nasty gap-filled goobery welds did impressively well when faced with a sledgehammer and vice. Seeing the ugly stuff hold up so well did a lot for my confidence in my nicer work.
After finishing the front triangle, Al and I went our separate ways. Life got busy and I had decided I needed to give myself a deadline if I was ever going to finish this project. I booked a bikepacking trip in with some close friends and told myself I needed to have this bike ready for that adventure. Rather than rush Al to try and meet my deadline, I hit up another friend, Cam Mclellan, who has been quietly building frames for himself and friends in a shack behind his house. Two weeks prior to my trip, Cam and I linked up to knock out the chainstays and seatstays.
It was eye opening to see Cam's set up in contrast to Al's. Al used to work a lot with titanium, which requires an incredibly sterile environment. Even though his shop was more chaotic than back when he was building full time, it was apparent how important precision and cleanliness was in that space. Cam on the other hand works as a heavy duty mechanic or something similar and crawls around in the mud and grime doing field repairs on industrial machines. As such, his shop and approach to frame-building is a little looser. Tools were basic and what you would find in most home-based metal shops. The same space Cam was chopping up parts for his 4x4 projects was also where he tinkered on bike builds. Despite the more industrial environment, Cam has quietly turned out some beautiful bike builds in this space. He knows what he is doing and has built a number of frames now for himself and friends.
I really enjoyed the few evenings I spent in Cam's shop. After coming from the precision environment at Al's, it was somewhat freeing using Cam's methods. Rather than agonizing over the calibration of a jig and mill, Cam had more of a ‘cut it a little long and keep taking material off until it fits’ approach. Simple, but it worked just fine. I don't think either methodology was necessarily right or wrong, but I found the contrast between Al and Cam’s shops to be very entertaining.
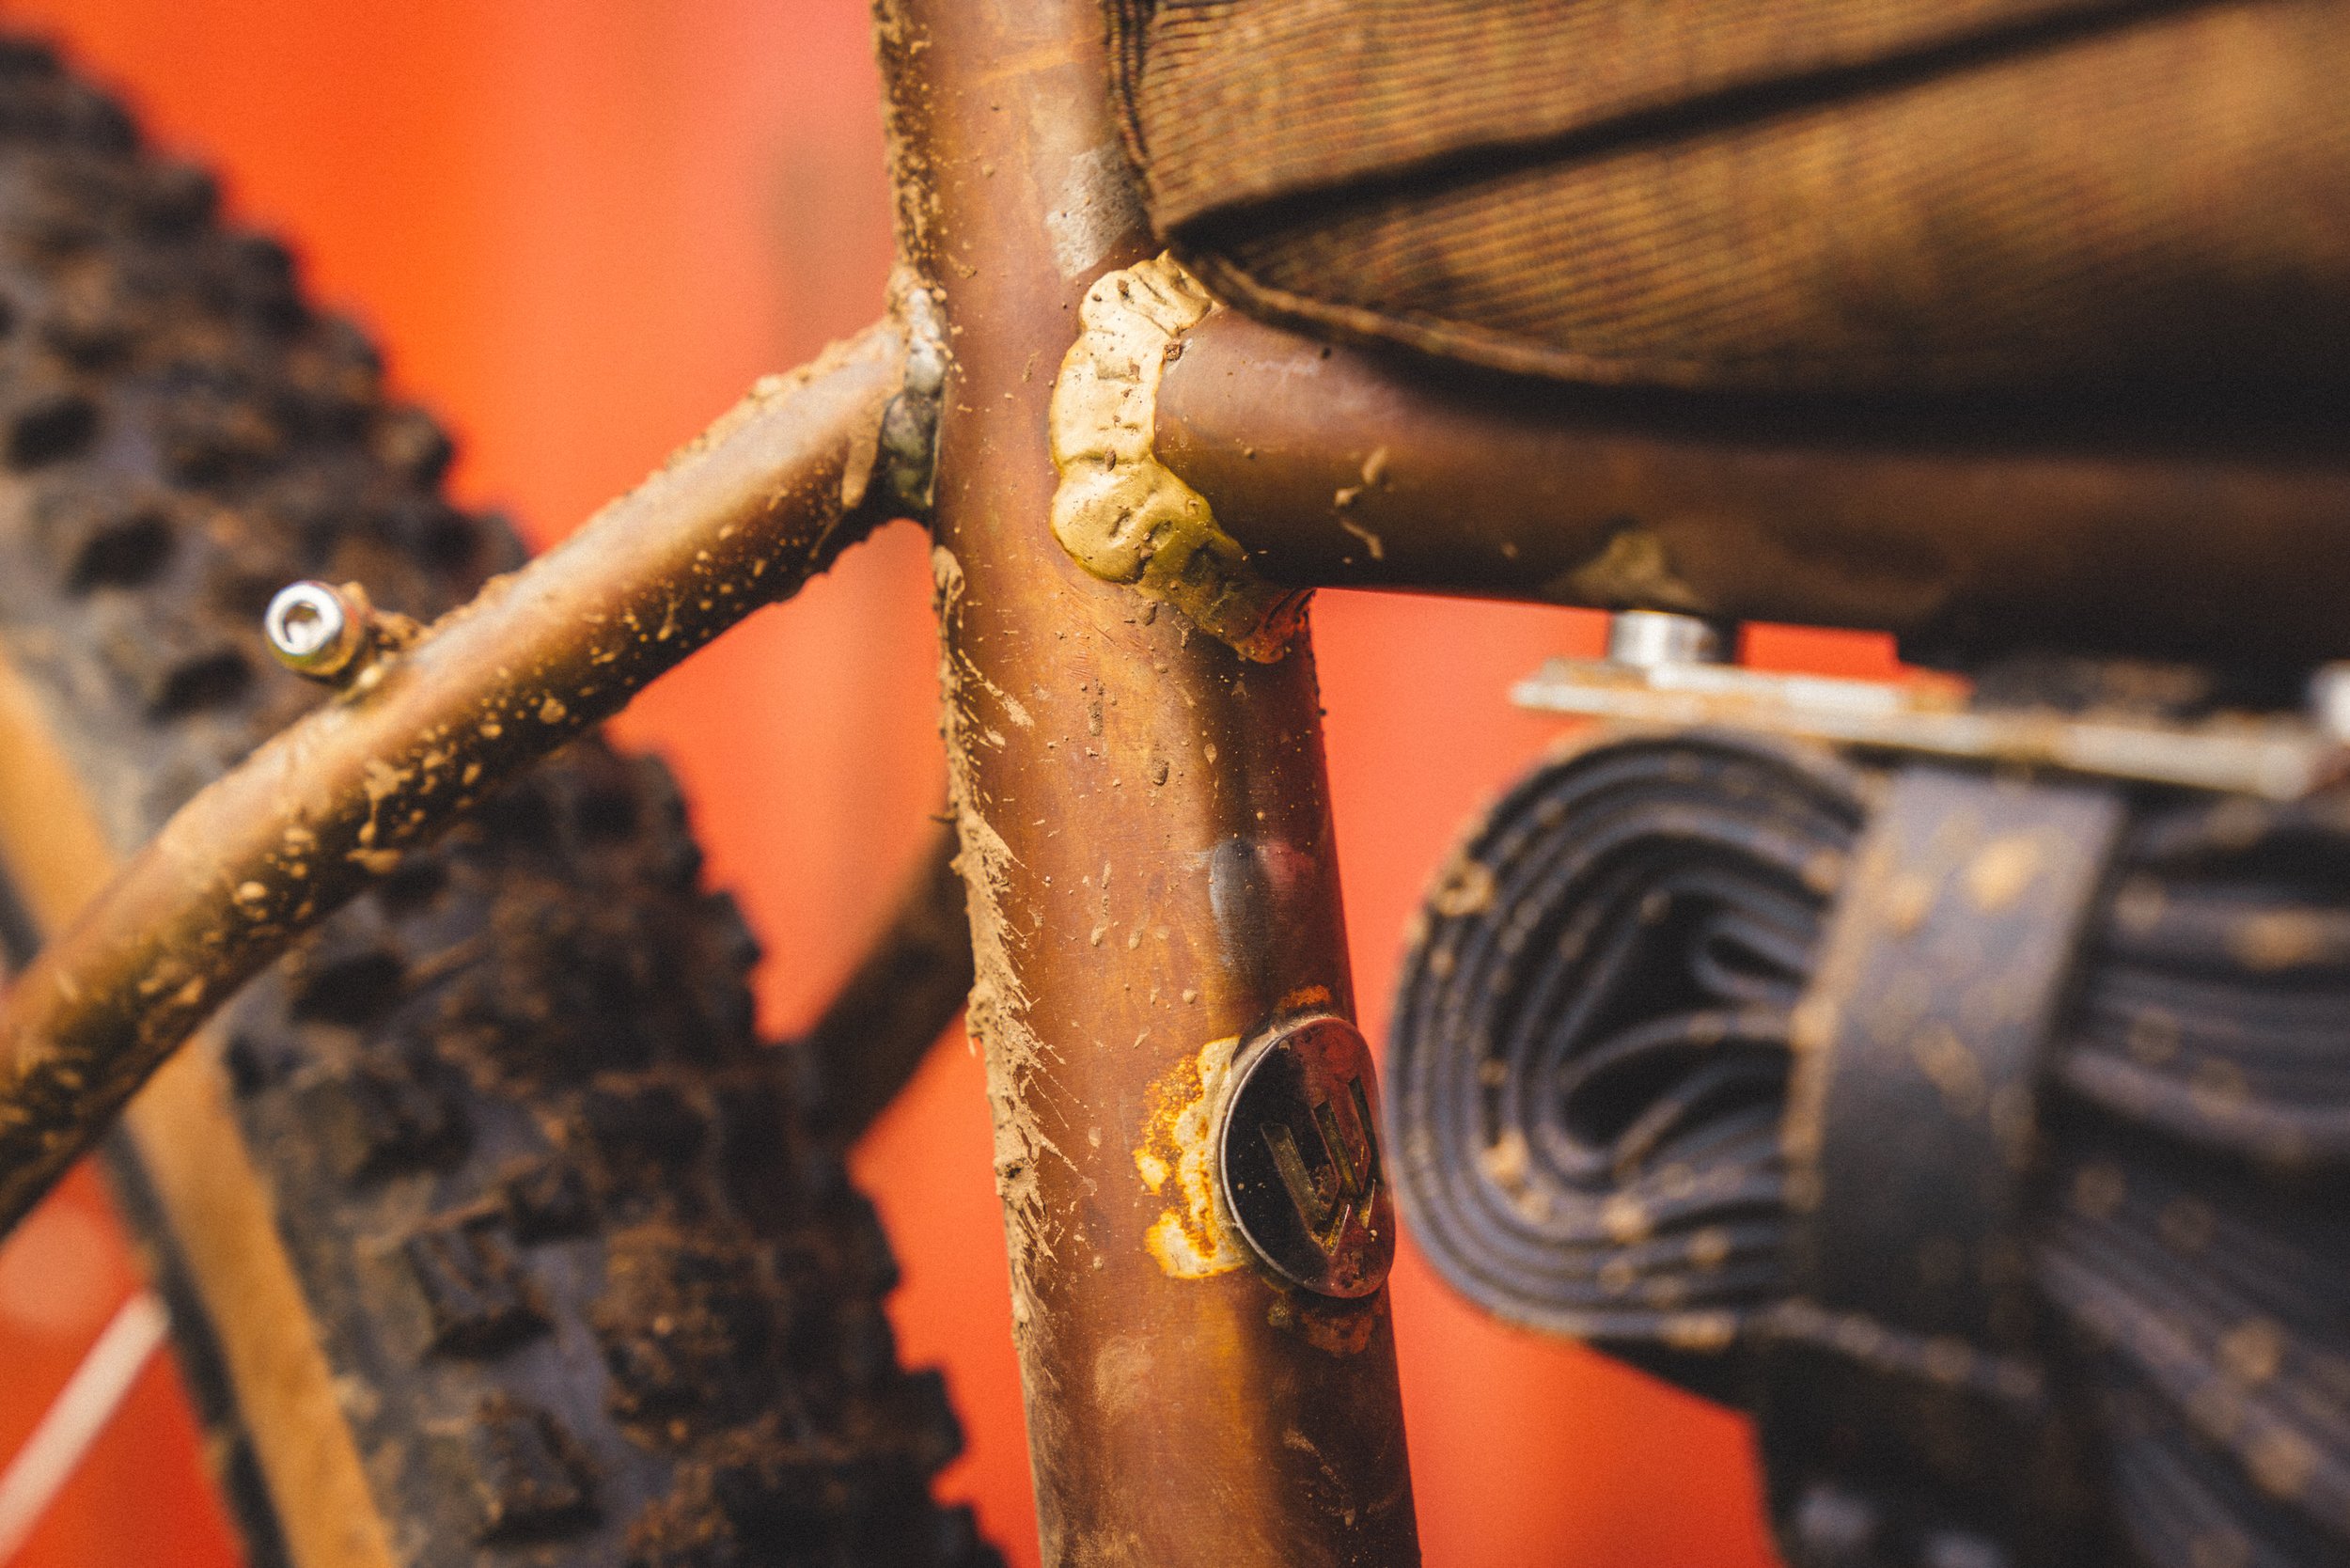
After the stays were all cut and welded, my frame was functionally complete, but it needed one last addition. Early on in this frame building process I had dreams of all kinds of curved tubes and artistic flare. Al quickly straightened me out and told me my dreams were far too ambitious for my first build. I could, however, build a traditional frame design and slap in an extra section of tubing for style points — easy to make and adding a unique layer to the classic two triangle bike frame. I'm a big fan of the Klunker aesthetic and was excited to add some unnecessary steel to my frame. For this addition, I decided to hit up Em at WZRD bikes. I didn't know Em well leading up to this, but she was super keen to help show me the ropes in her shop.
Em's space was, again, a uniquely individualized environment compared to the other two shops. Where Al and Cam work on a number of different projects in their given spaces, Em's shop appears to only ever see bicycles. As such, everything was clean, tidy, and purposeful for the task at hand. I still think Al's space in his prime would have been the most precise of all the builders I worked with, but I appreciated the focus of Em's little shop. Everything was where it should be and although the tooling was a little more basic, I liked the setup a lot. I think this space best suited the way I operate, and I liked the mini tools that most machinists would turn their noses up at. It was very much a goldilocks finding baby bears oatmeal situation for me.
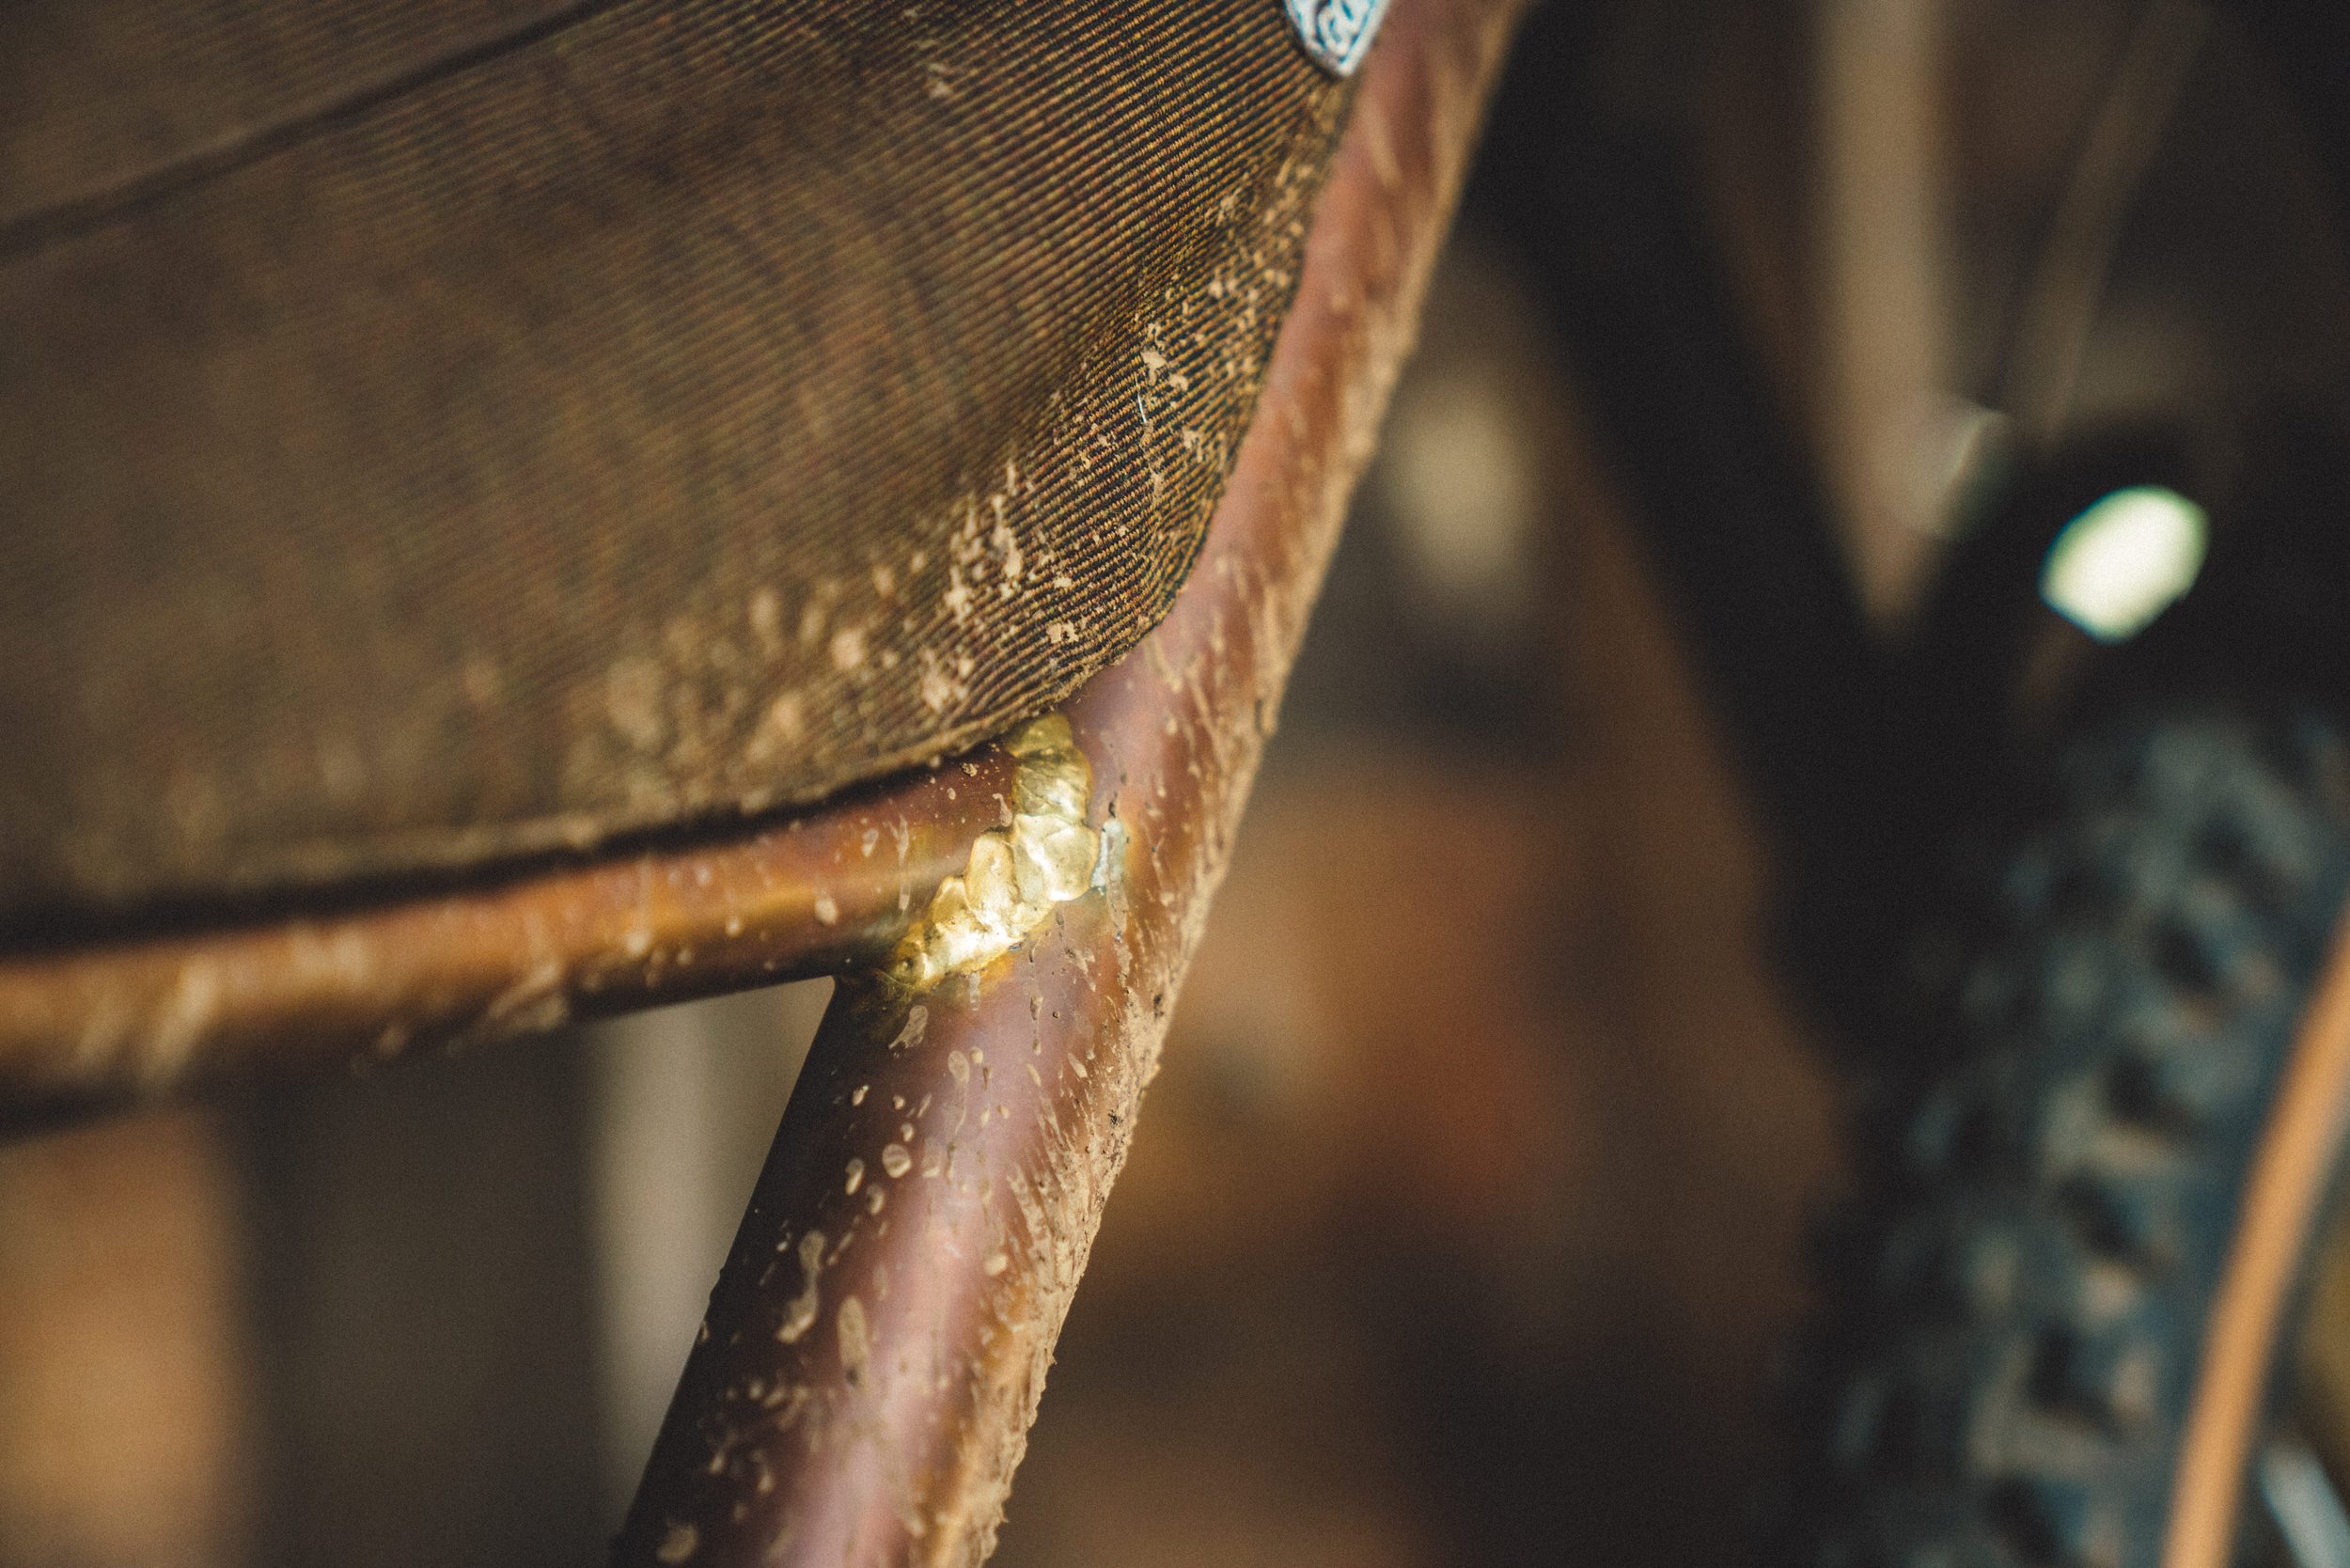
In working with Em, I also got the opportunity to play around with brazing, which is the method she uses for all of her builds. Where welding is the act of melting two base materials together with some added filler, brazing is more like gluing tubes together with metal. Em uses brass for brazing, which creates a very distinctive look that I was keen to add to my build. I took to brazing much quicker than I did welding. I think it might be a little easier, but I can imagine some of my crude welding skills transferred over well. We did one practice braze and I was pretty much ready to got to town on my frame. It didn't hurt that this tube was completely non-structural, so my only goal was to make sure I didn't damage my previous work.
Brazing felt refreshingly simple and artisan to me. The process is much lower tech than welding, and requires a basic oxyacetylene torch, filer material, and some flux paste to help the filler flow freely. You also don't necessarily need eye protection when brazing which I found made things much easier to navigate. The process is simple: you apply flux to the area you are working on, then heat the flux until it turns a clear glassy colour/consistency. At this point, you dab in your filler rod, which slops in a little gob of melted brass. You can use the torch and gravity to manipulate the flow of the brass and you can back off and let things cool at any time to assess your progress. It's very easy to stop and start if needed. Culminating in all things I appreciated as a novice.
Al often related welding to riding. I couldn't help but draw some comparisons of my own between welding and brazing. At my skillset, welding felt like riding a steep section of trail at night with a light that is too dim and brakes that didn't work properly. You are forced to move a given speed and are doing so with relatively zero visibility. Brazing to me felt like riding the same chute in the day time with good brakes and knobby tires. I could see where I was going and could back off as needed. Although gravity does affect the flow of the brass, it feels more like a controlled descent to me than tig welding. It's a little messier and requires more cleanup, but I much preferred this process. I suspect the next frame I build I will try and braze the whole thing.
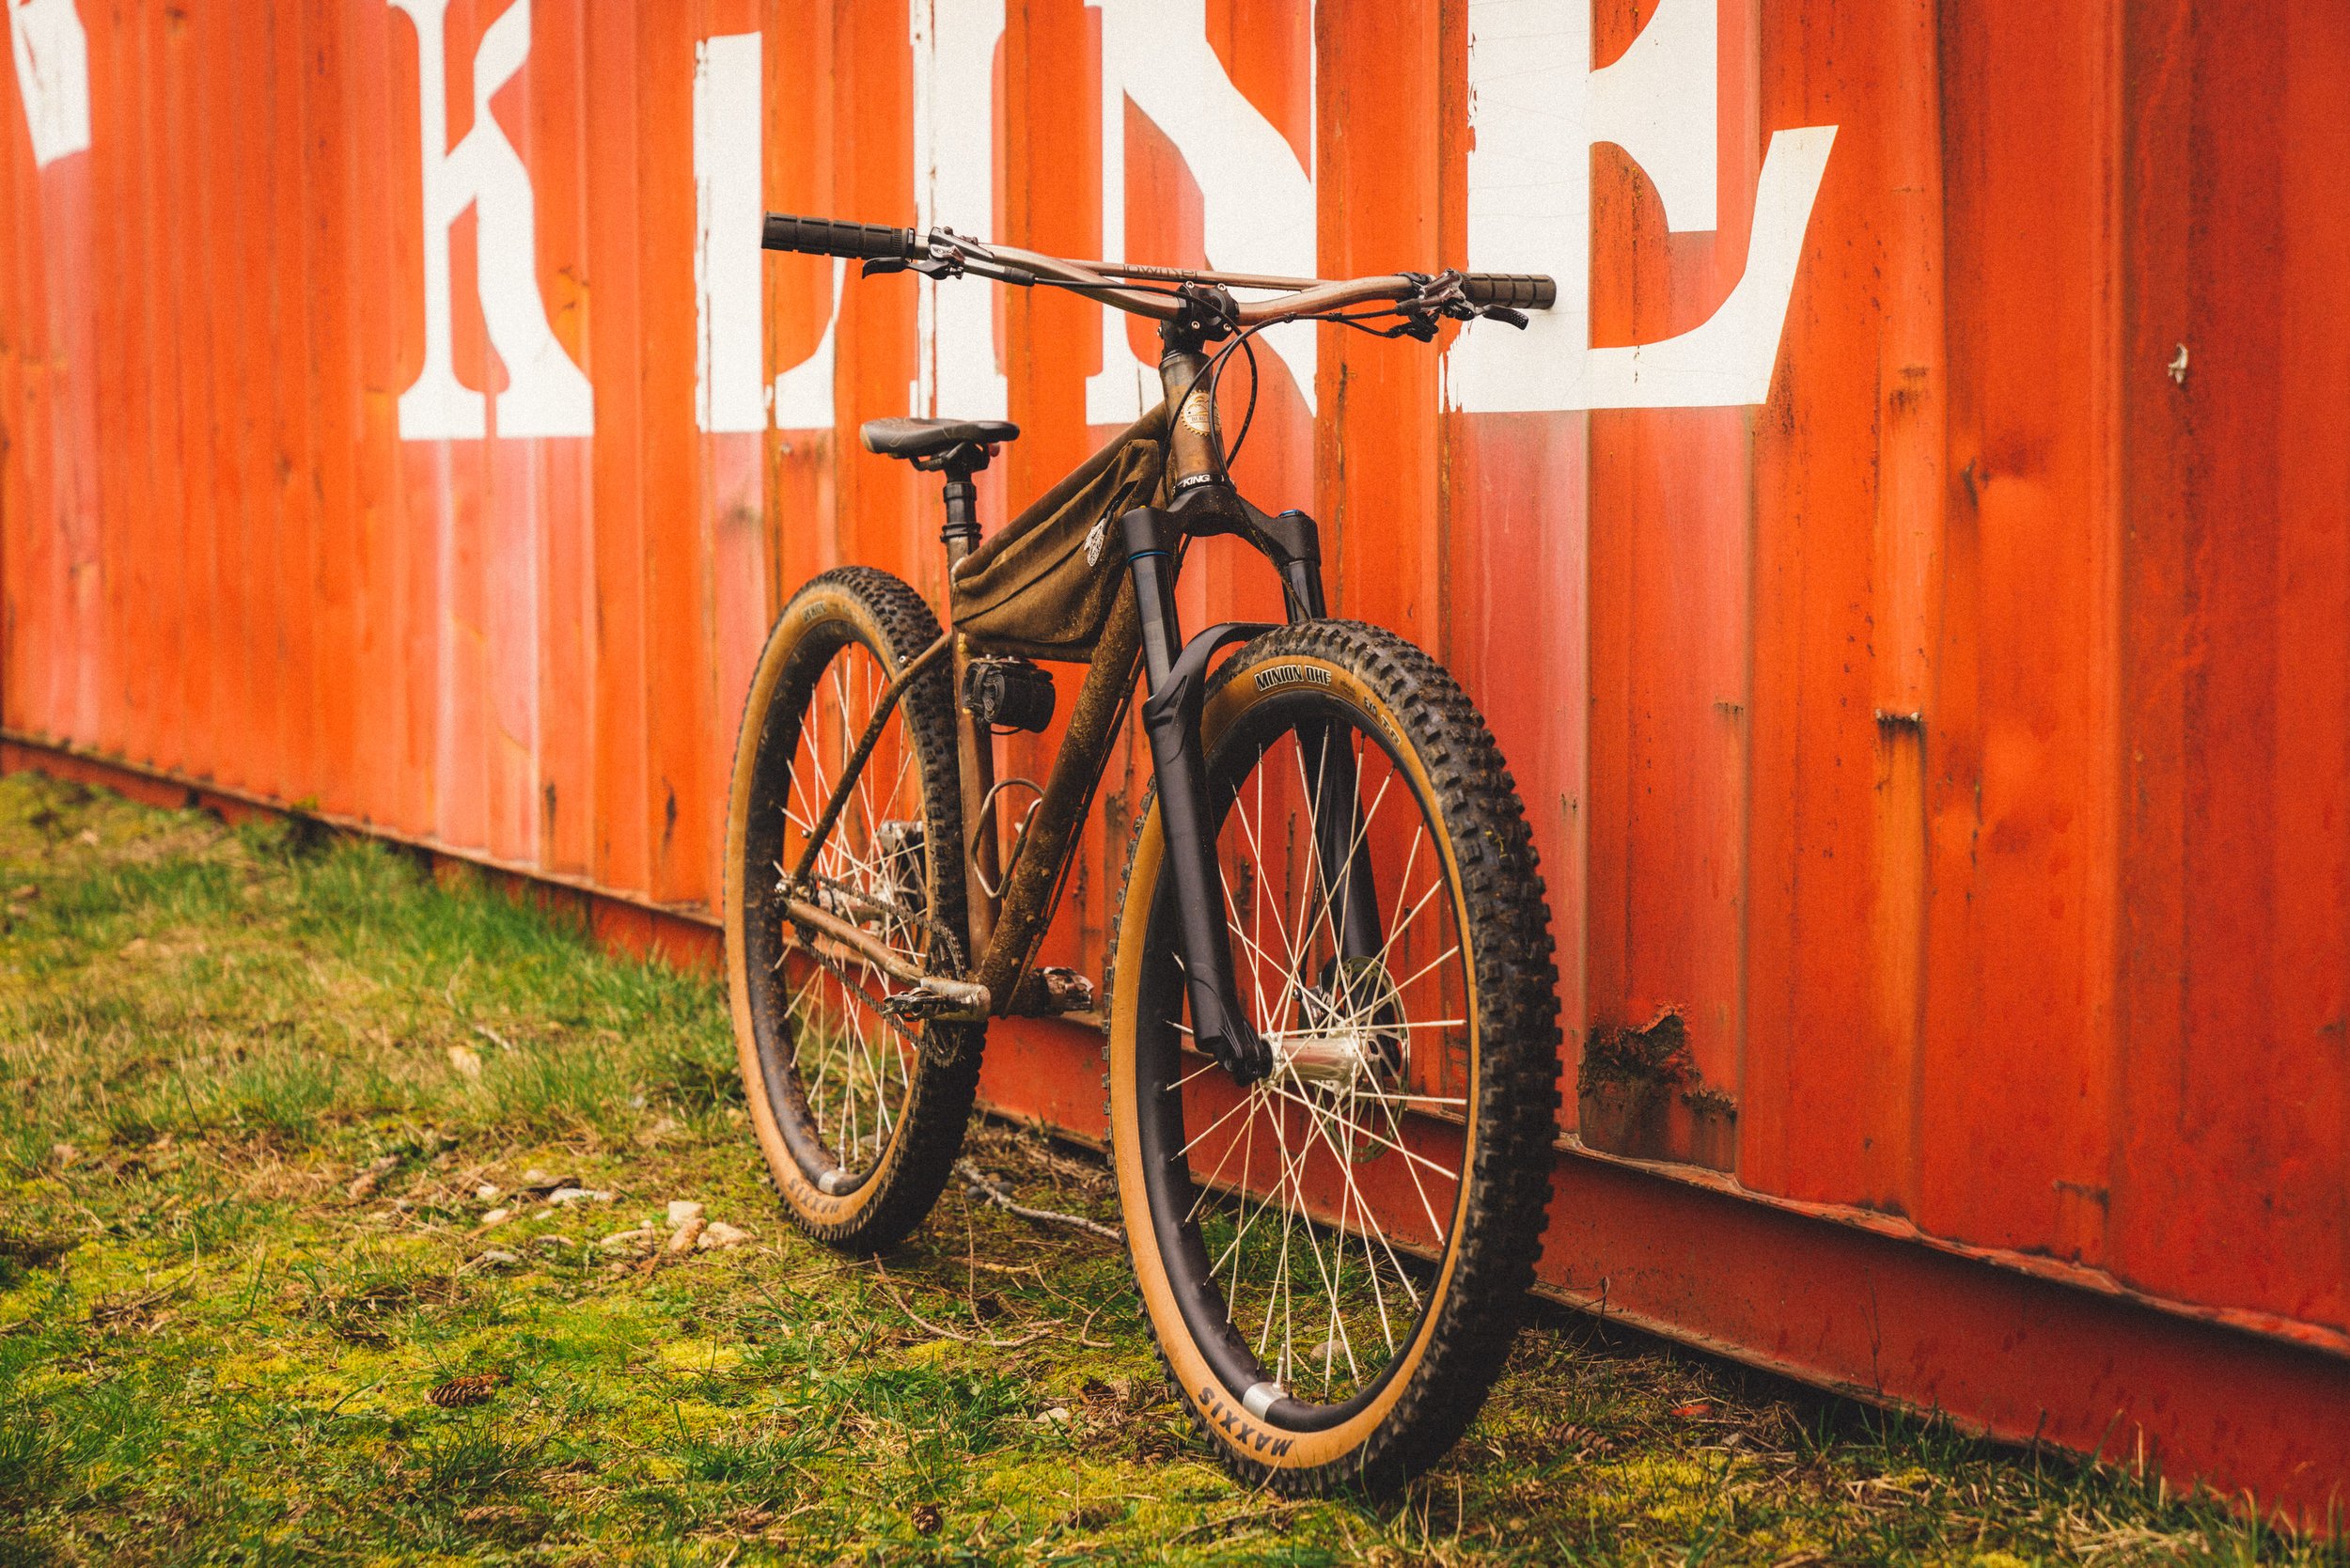
With the Klunker bar in place, my frame was finally ready to get cleaned up and kitted out. Em gave me some leftover bluing solution she had which I was keen to try. Bluing is a process often used on firearms where a solution is applied to the steel and it undergoes a chemical reaction that makes it more resistant to rust. The finish is a great greyish blue that allows you to see all the welds and imperfections. Although much less protective than paint, I was stoked to give it a try. I ended up mixing my solution a little too diluted, which caused it to corrode as the bluing was taking place. While I was initially discouraged by this, I actually like the industrial Mad Max-esque look that it created. The Klunker was feeling like a Rat Rod and it was fine by me!
The final step before the build was to mount up the frame-bag that my friend Sam made for me. He had recently picked up sewing as a hobby and up until this point had only made a couple chalk bags for rock climbing. He was unsure of how the bag would turn out but we decided to embrace the adventure and go for it. After-all, the frame wasn't exactly made by an expert either. Doubts aside, he absolutely nailed it. The bag fit perfectly and I really dig the styling of the brown awning material that we chose. To cap it off, Sam surprised me with a little "Gorp Club" logo that is a nod to an inside joke from back when he was helping me design a logo for another business.

Finally it was time to build this thing up. My initial build was a follows:
Fork: Rockshox Sid - I went with the Sid initially as I wanted to strike a good balance of weight to off road capability. I also dug the silver graphics.
Rims: Santa Cruz Reserve 37 Carbon - I have had great success with the durability of reserve rims and found them to ride quiet compliant for a carbon rim. This was important for me on a bike that could see long days in the saddle.
Spokes: Berd PolyLight. - These "string" spokes were just too neat not to test out. I love outside the box products and had to give these a try.
Hubs: Onyx Vesper - The zero drag and silent action of Onyx hubs is addicting. They are by far my favourite hub on the market. I will say that we much prefer the "classic" model in store for its reliability but I opted for the Vespers here to try and keep the weight down. We will see how they hold up.
Tires: Maxxis Rekon / DHF 29x2.6 - Not much to say here, knobby enough for the off road stuff without being toooo draggy on gravel. They are also in tanwall which I felt was important for the style points.
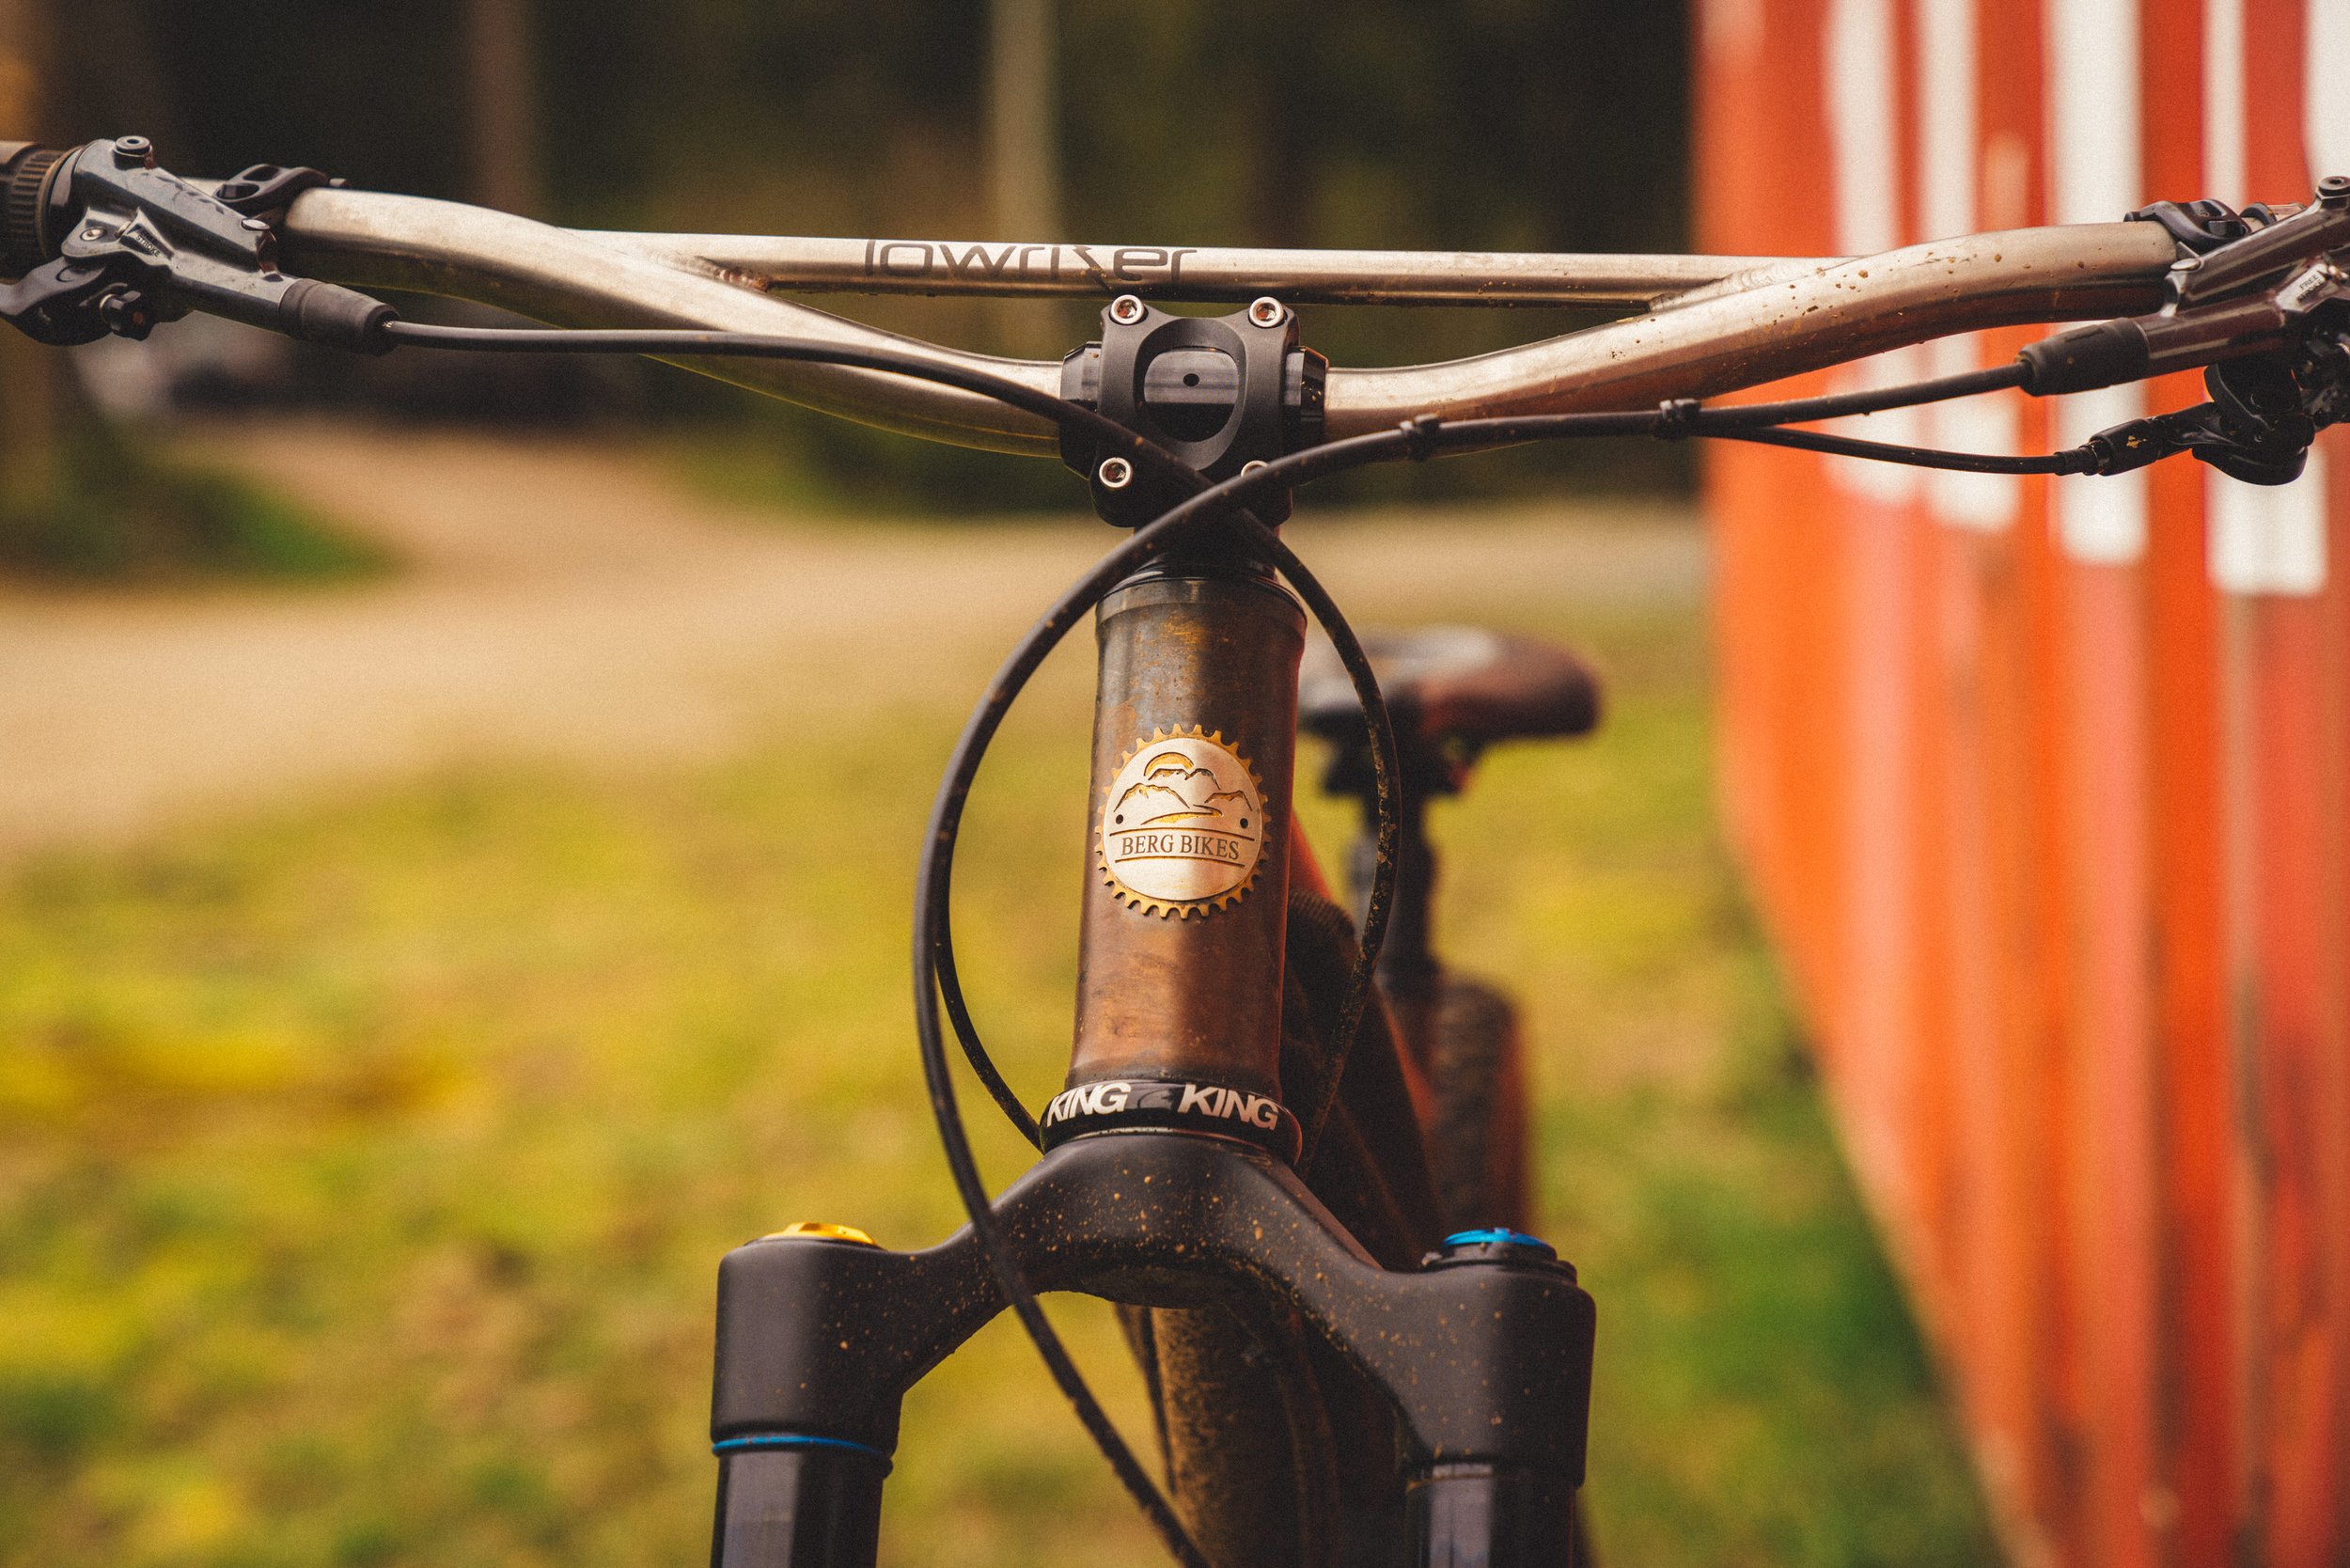
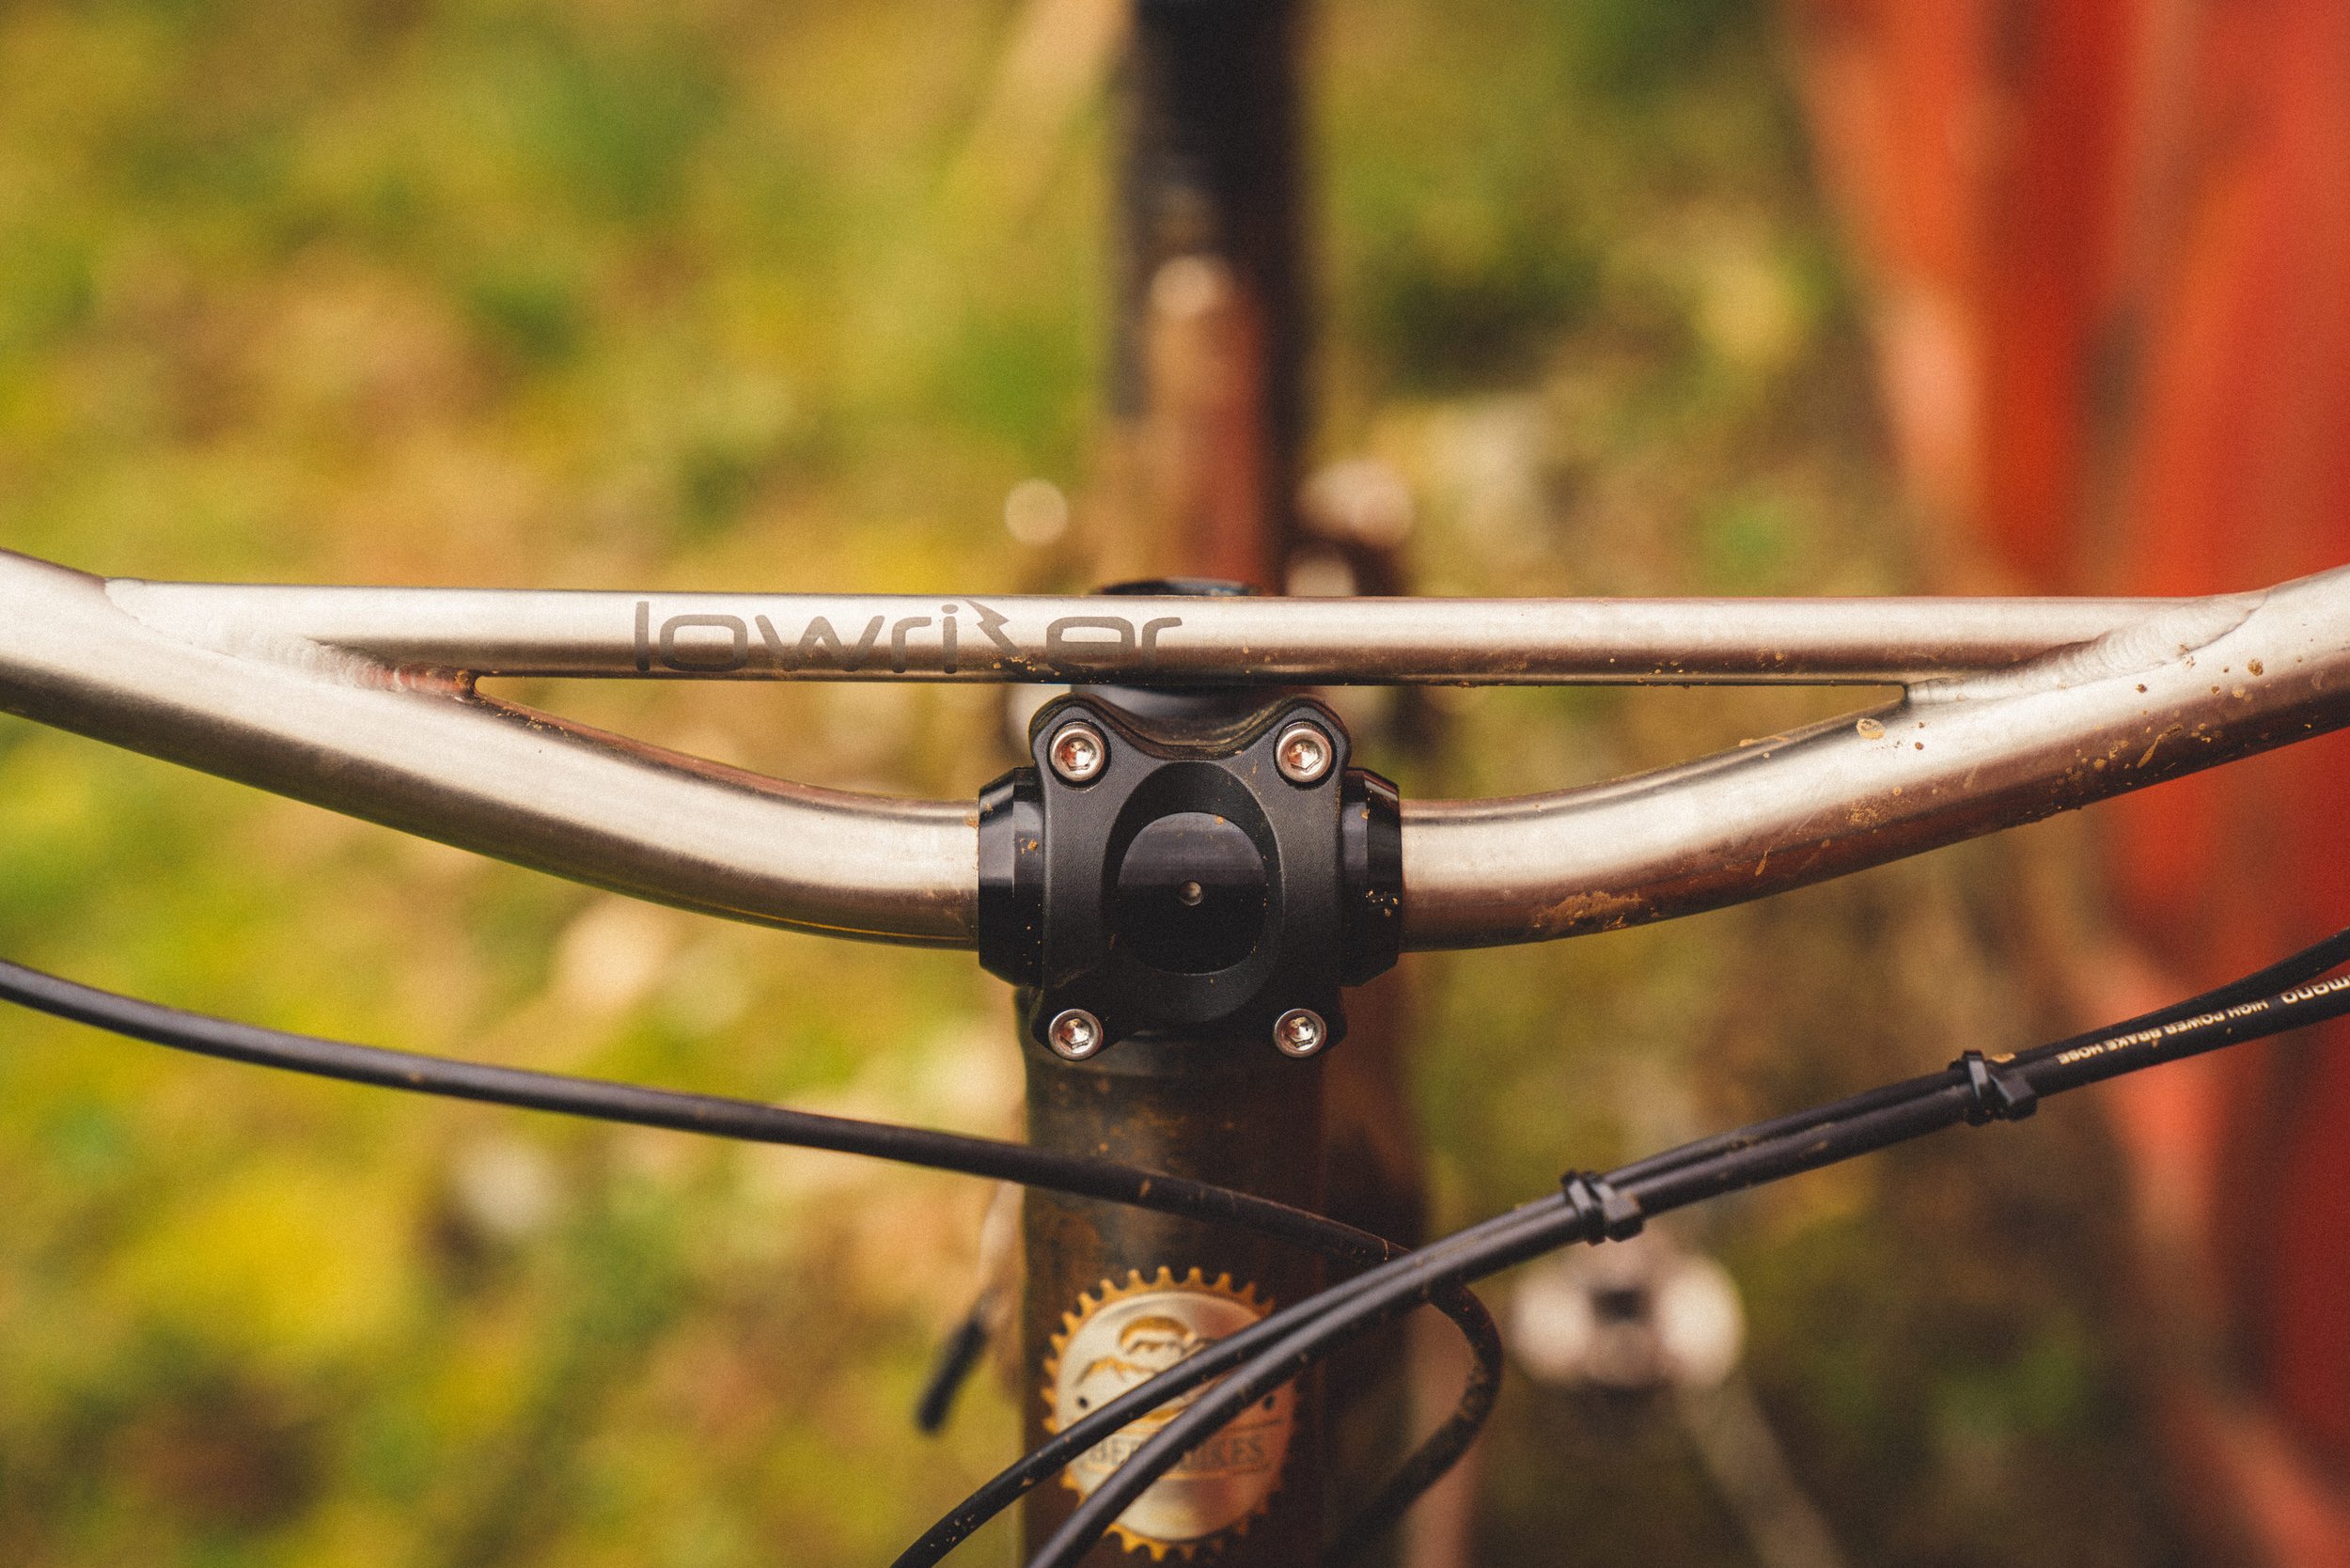
Handlebars: Oddity Lowriser ti: Custom bars built by one of my favourite builders in titanium to the dimensions I requested — yes please. 780mm, 45mm rise, 14deg backsweep.
Headset: Chris King - Lasts forever and it’s lusty.
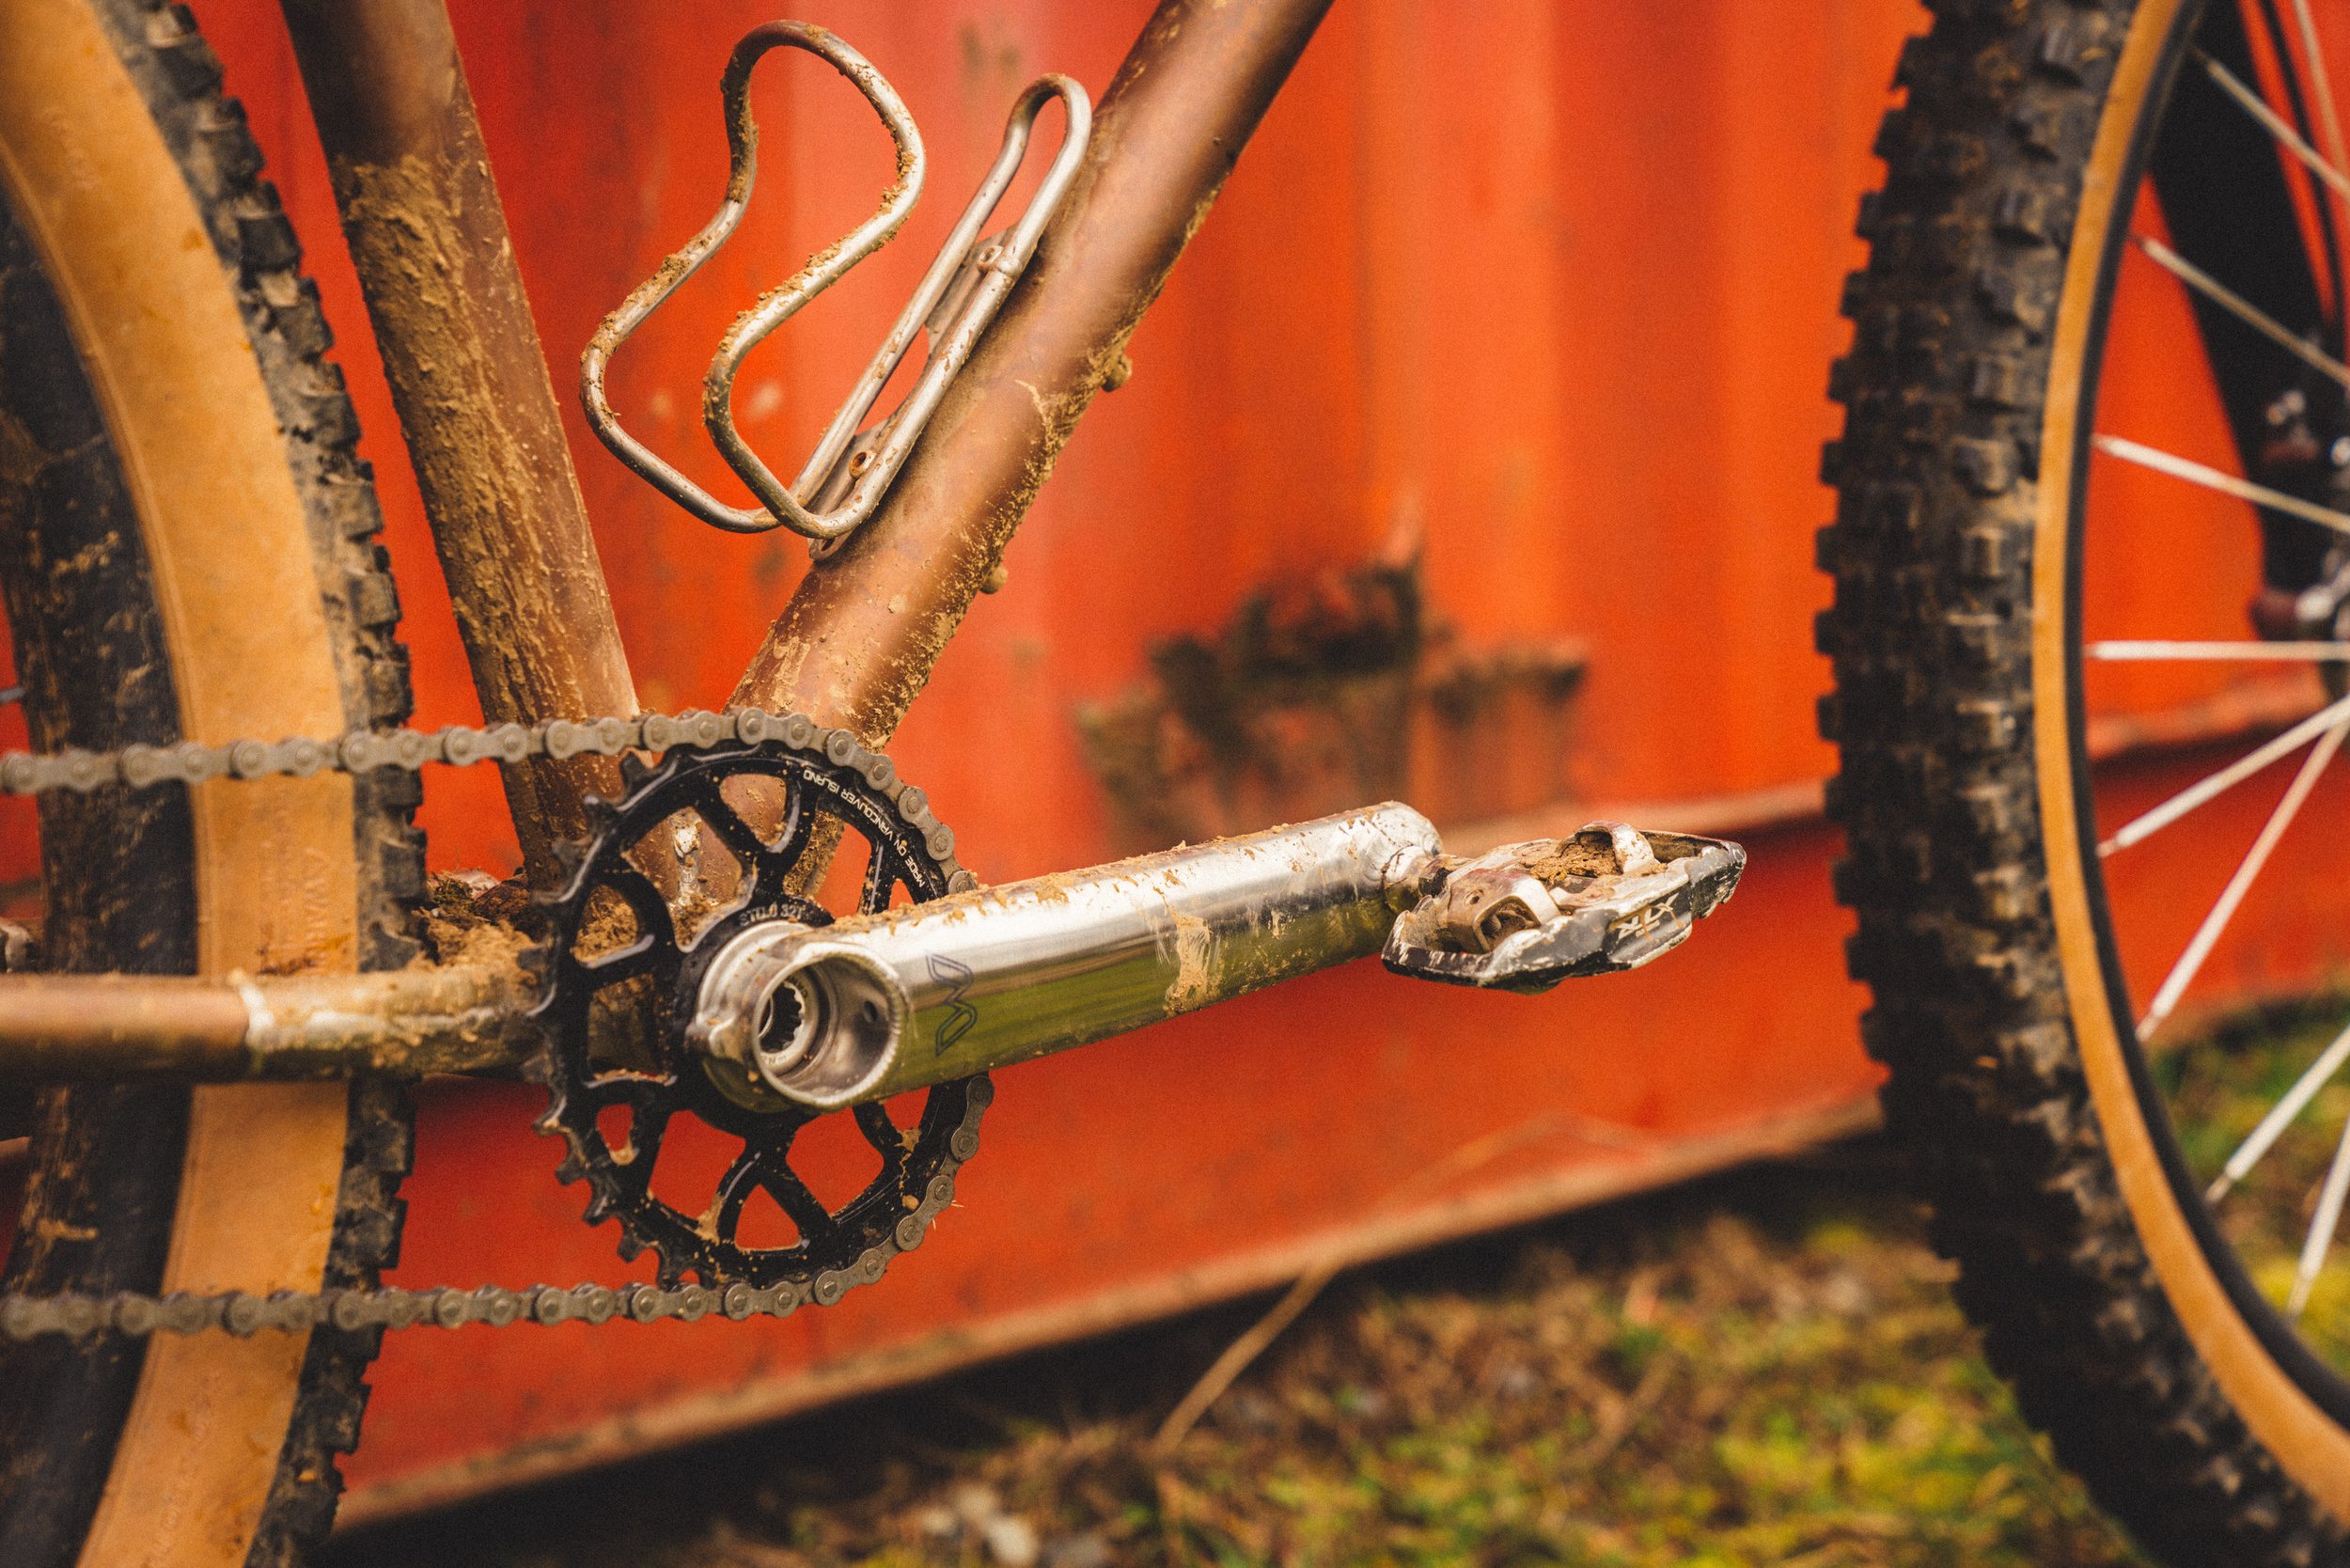
Crankset: Cane Creek Eewings - Of the mainstream product available to me through the shop, this was one of the most blingy products I had access to. I had been salivating over these cranks for a while and this bike was the perfect excuse to grab a pair. Titanium goodness with a 10 year warranty and a raw finish that can be polished out if scuffed up — so good.
Chainring: Farside 32t Oval - Farside is a passion project that I briefly ran (we've now closed it down) alongside my friend Emory. Beautiful, machined goodness made right next to home in Victoria BC. Of course, this ring needed to end up on this build.
Pedals: Shimano XTR - I've been moving these from bike to bike for years. Titanium axles to keep on brand with the other ti parts and XTR branding for cool points.
Cassette: Absolute black 20t Cog - Just a cog but it’s pretty.
Derailleur(s): N/A - Lost my derailleur hanger at some point during the build. Always wanted the option to run it singlespeed but didn't think it would be forced on me this early. In for a penny in for a pound right?
Brakes: Shimano XTR - Stolen from another bike of mine, they are powerful enough, light, and the polished grey finish matches up nicely with the rest of the build.
Shifter(s): N/A - See above. Singlespeed foolishness.
Saddle: Sqlab 611 Carbon Rails - Sqlab saddles have been my go to for a few years now, they seem to work for my crooked spine, hips, etc., and carbon rails to shave the grams.
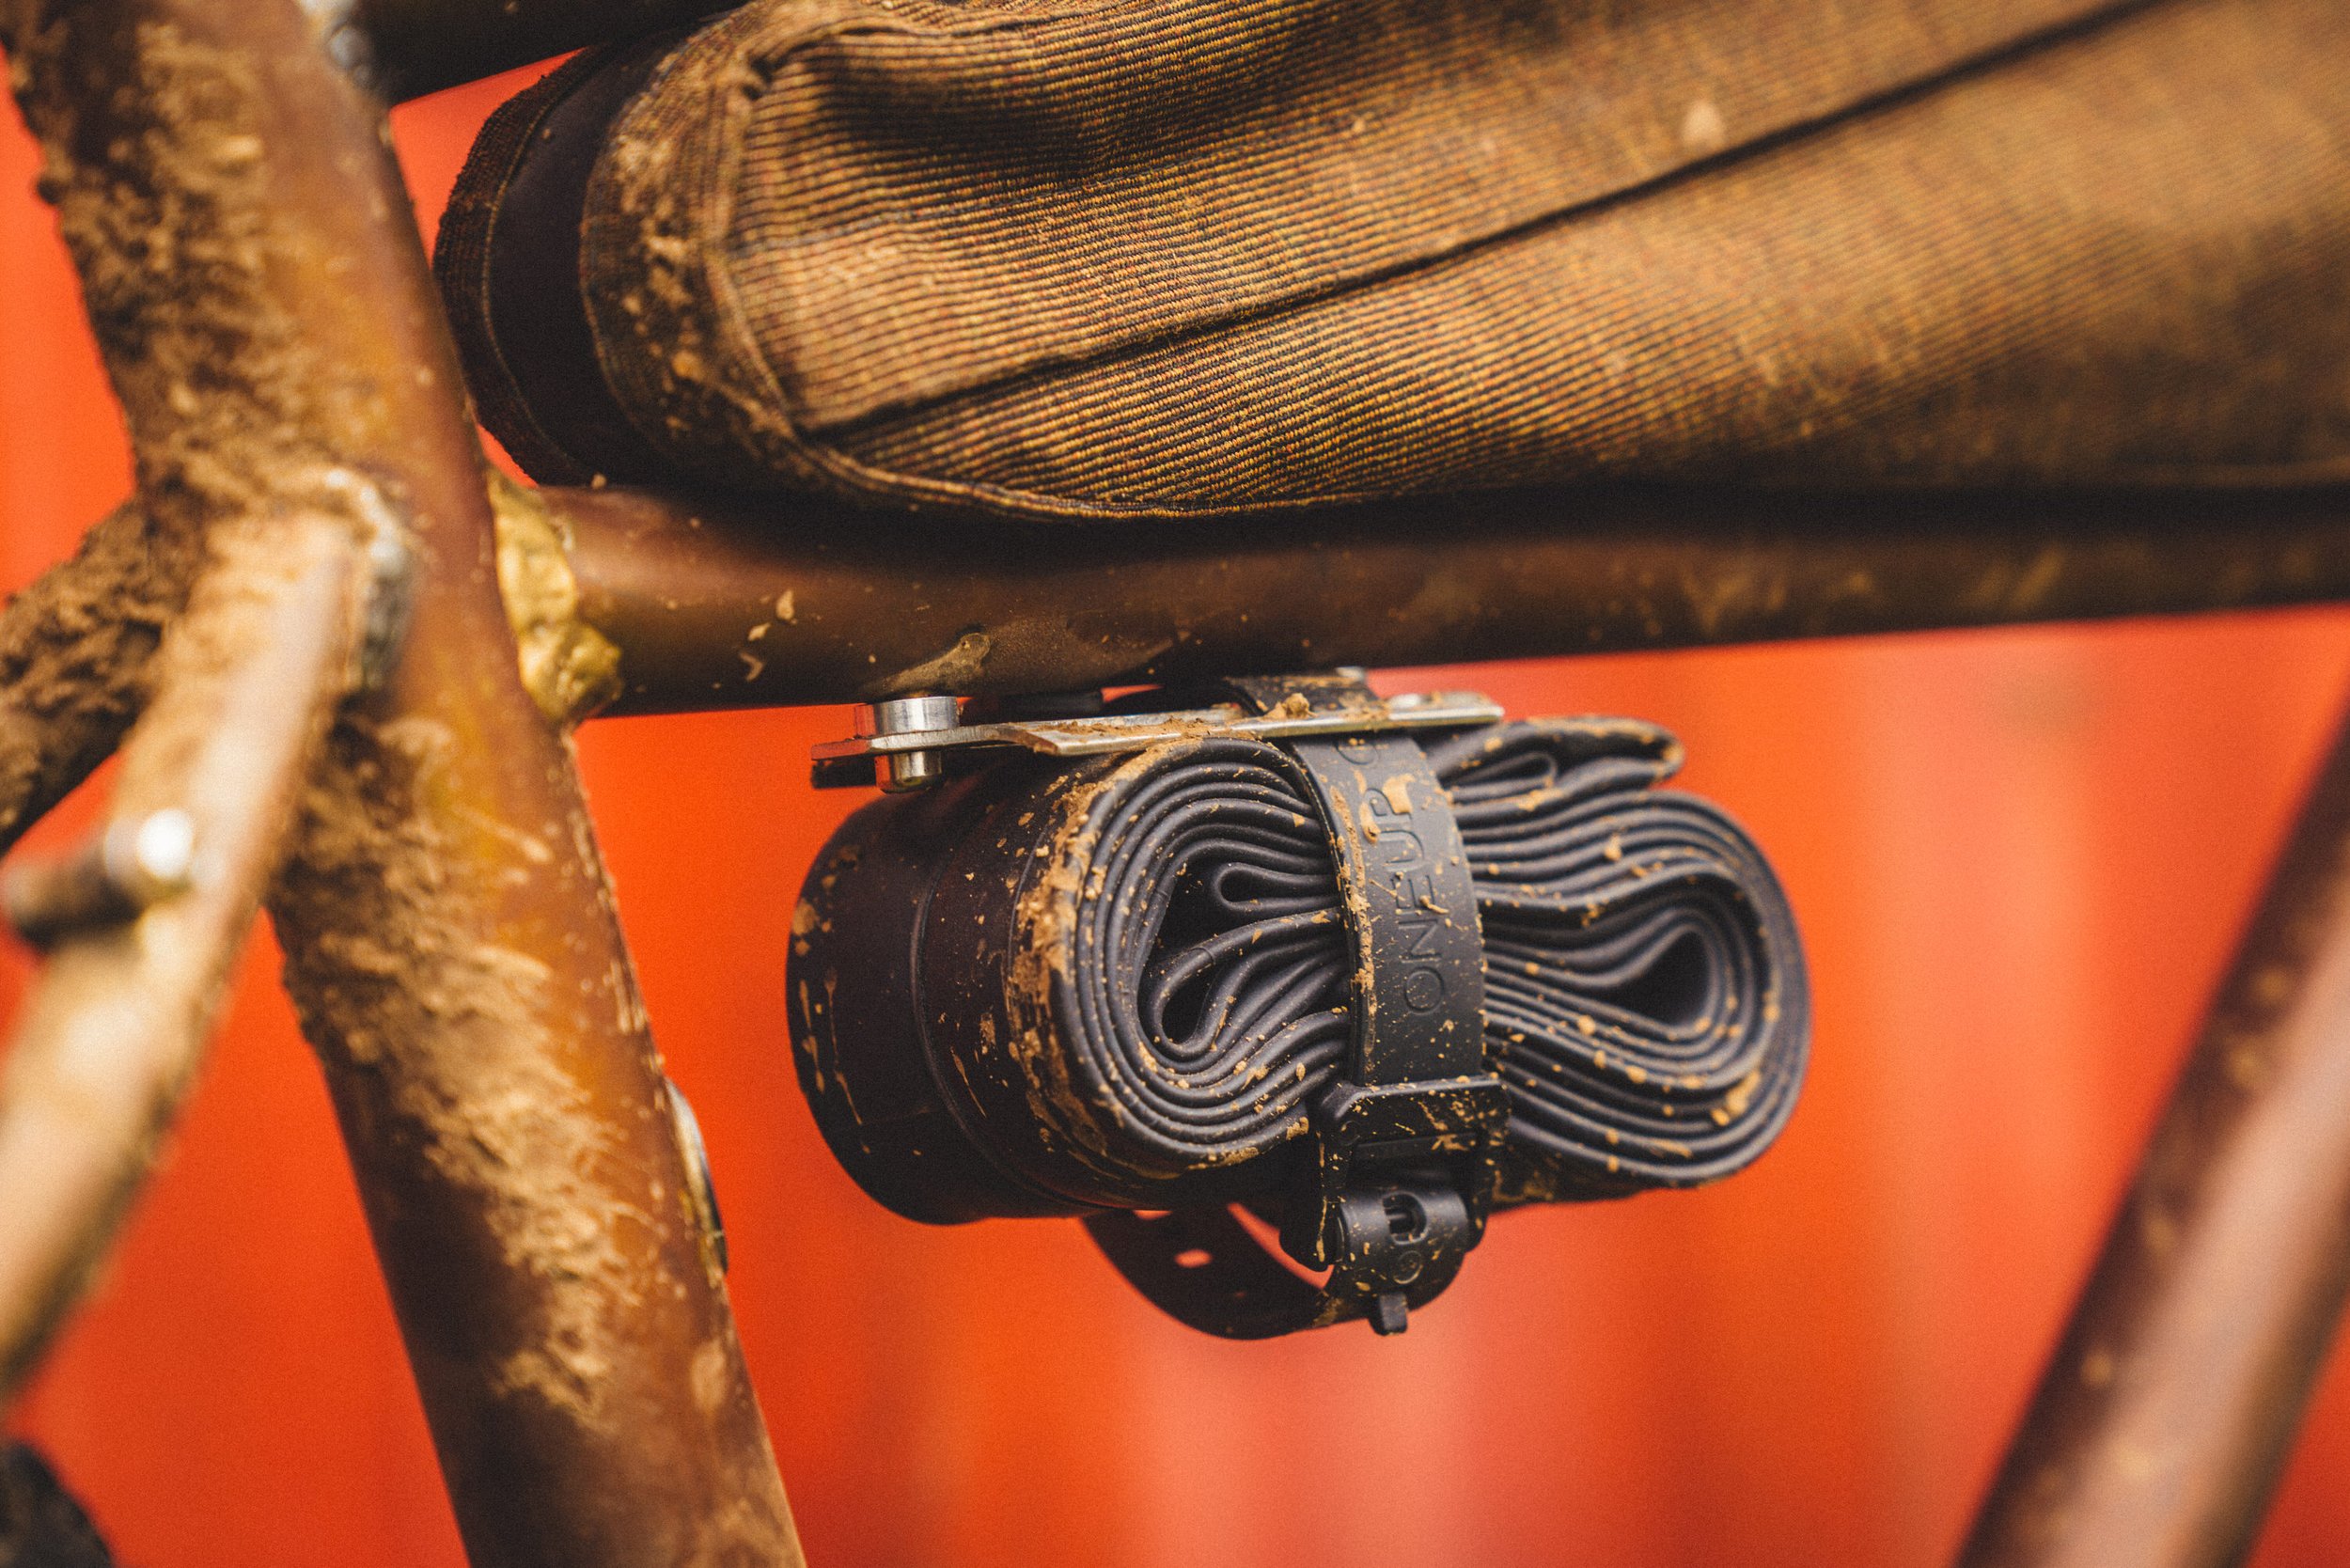
Seatpost: Oneup - Simple and reliable.
Stem: Ibis - Placeholder until I find/make something cooler.
Headset spacers: Why Cycles Titanium - Because titanium.
Bottle Cage: Wolf Tooth Titanium Morse Cage - Because titanium.
Tube Accessory Mount: WZRD - Local style
Frame Bag(s): GORP Club.
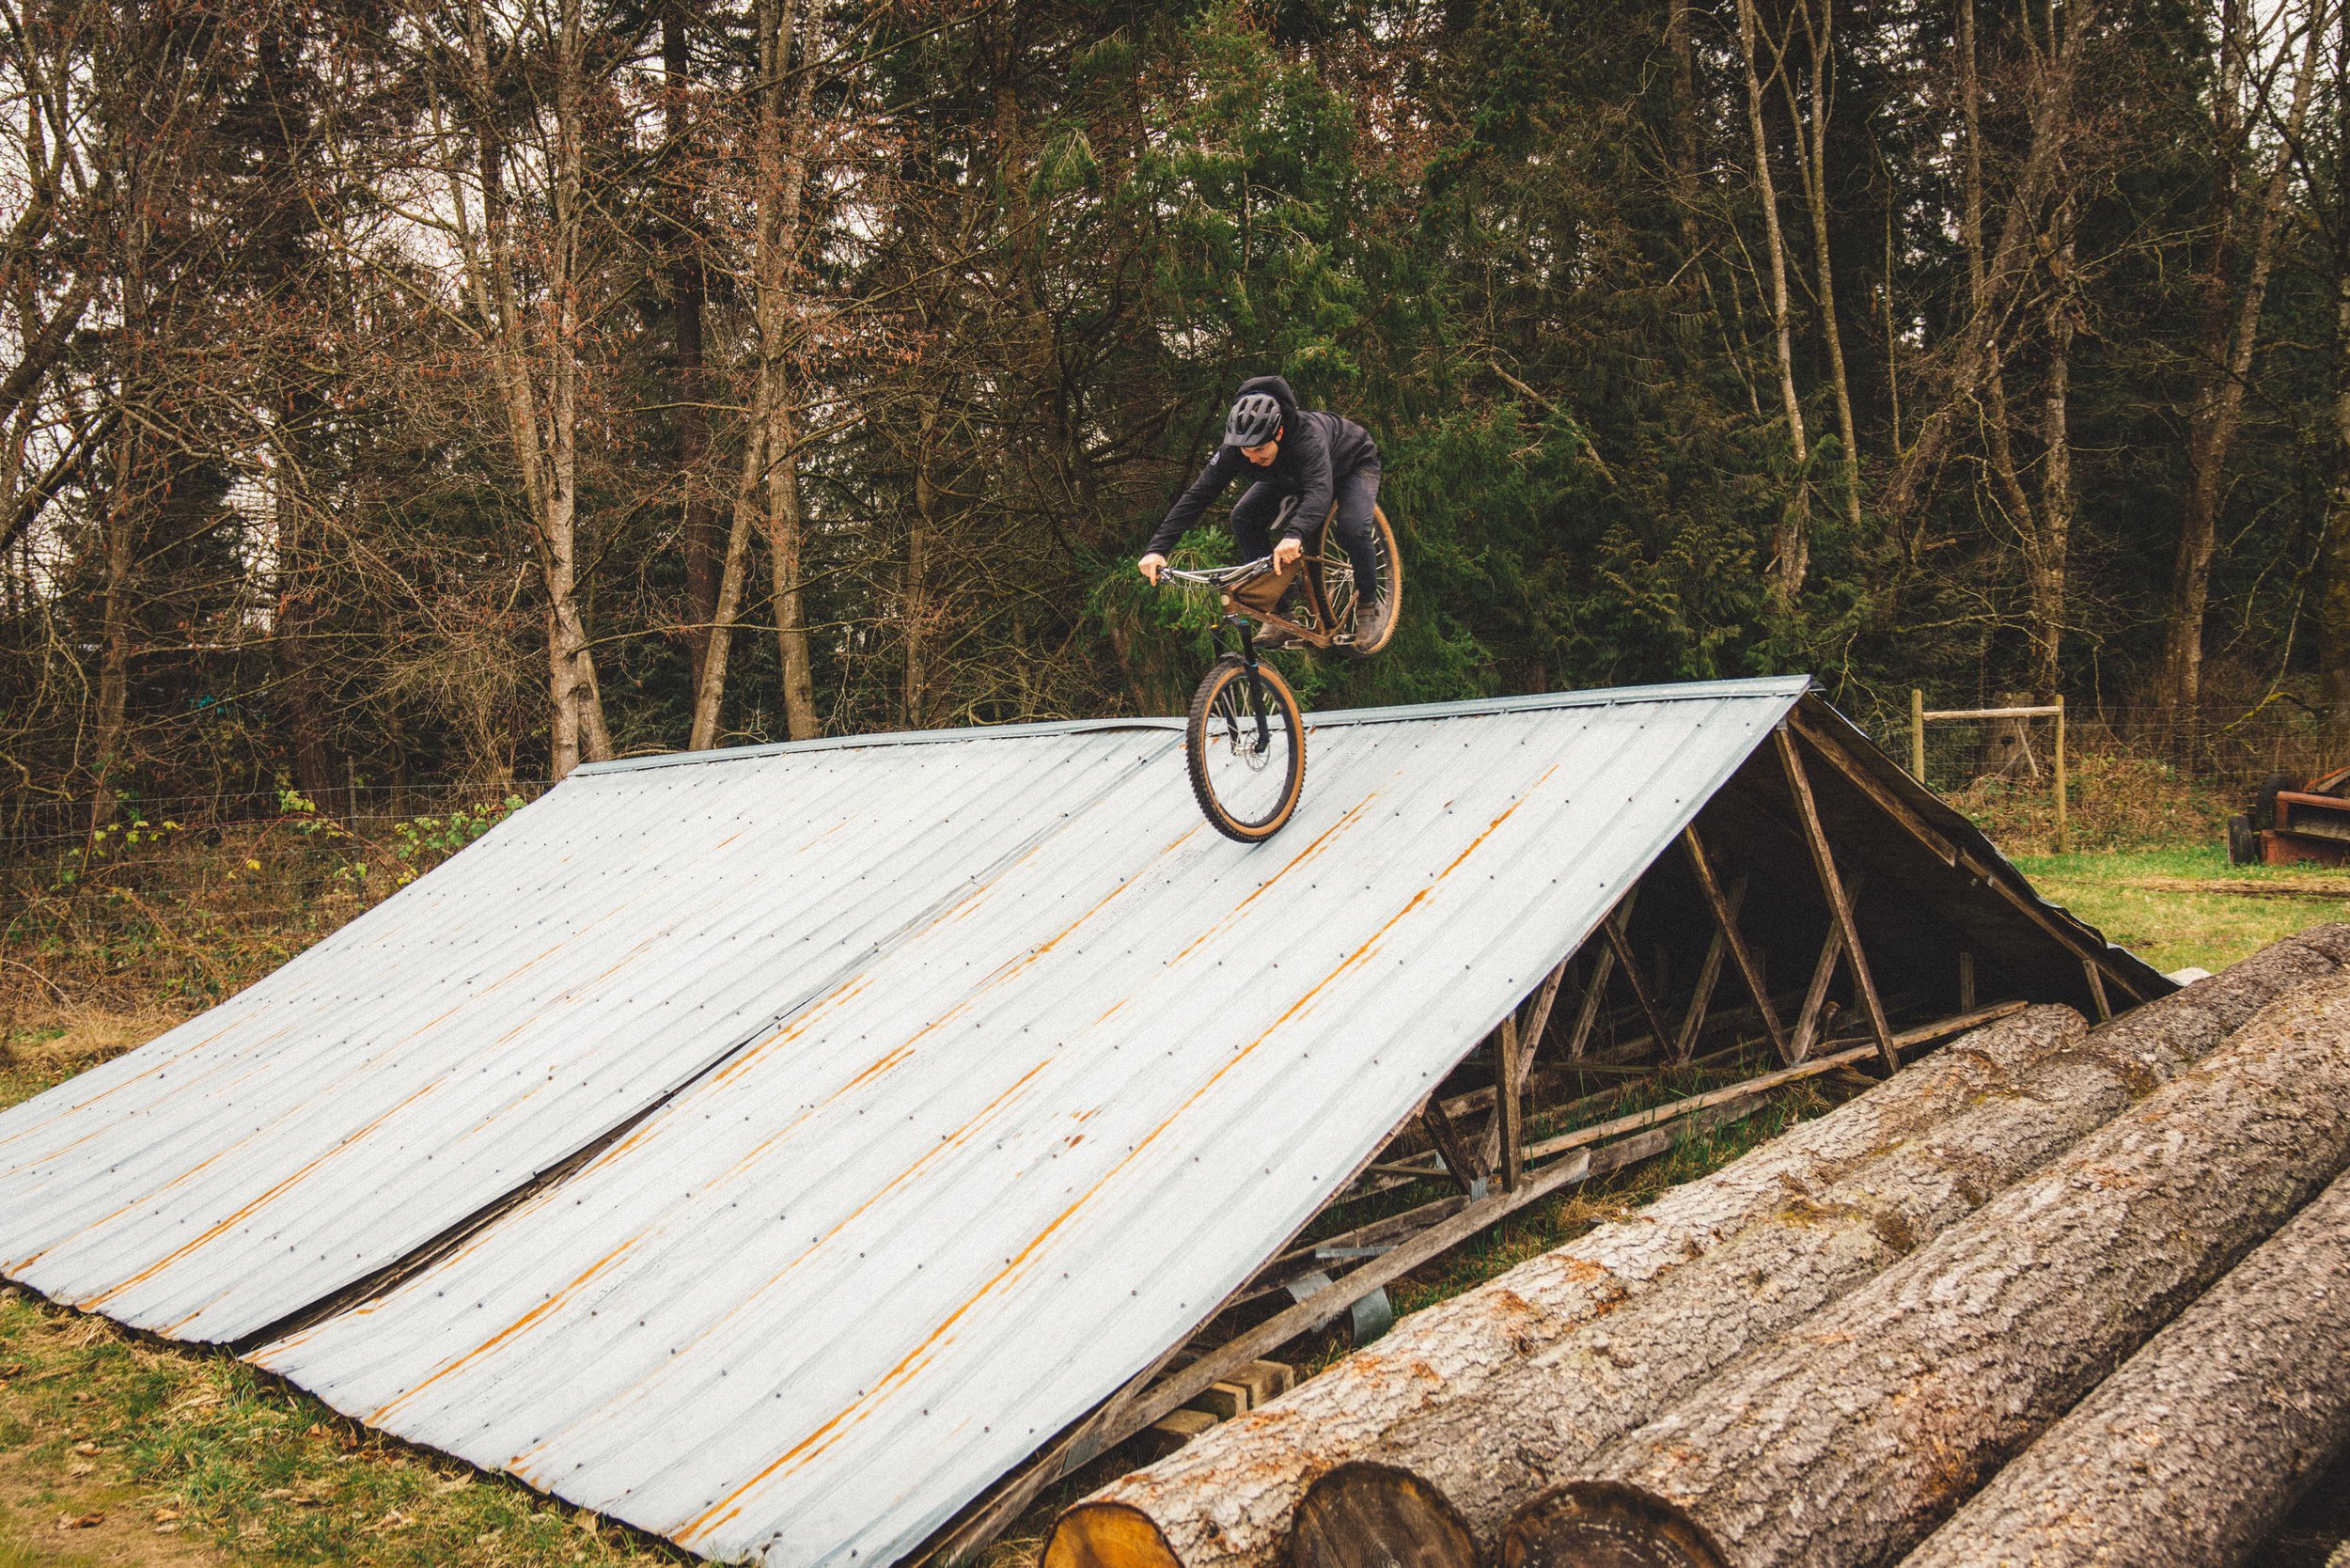
So how does it ride? All in all, I have been very happy with how this bike came together. There were plenty of opportunities for things to go sideways, but I think it turned out almost exactly how I had hoped. I did learn a few lessons though. The seat tube angle is a little steep for longer rides on level terrain. It is great when climbing but when slogging it out on gravel roads it puts a little more pressure on my hands than I would like. I would likely make this a little slacker if I was to do this again despite what current trends say. The material I chose for the frame bag sagged a bit over time. Not a big deal but it's not something I considered when shopping for fabric. I would pick something more rigid next time or sew in some supports. Finally, the fork was a little under-gunned. It was great for the bikes inaugural bikepacking trip, but felt a little light duty when I was hitting single track. Even though I didn't plan to ride this bike too hard, the geometry is confidence inspiring enough that I want to go fast and hit jumps. Since I build it, I have upgraded to an Ohlins RXF 36 which is perfect. With the steep seat tube angle and bigger fork, it does push this bike to the upper end of its intended use. It's more capable than I had planned but also not quite as nice on the flats. Looks like I will just have to build another bike for gravel and light single-track to fill in the blanks. We will see how many years it takes me to get to that though...